
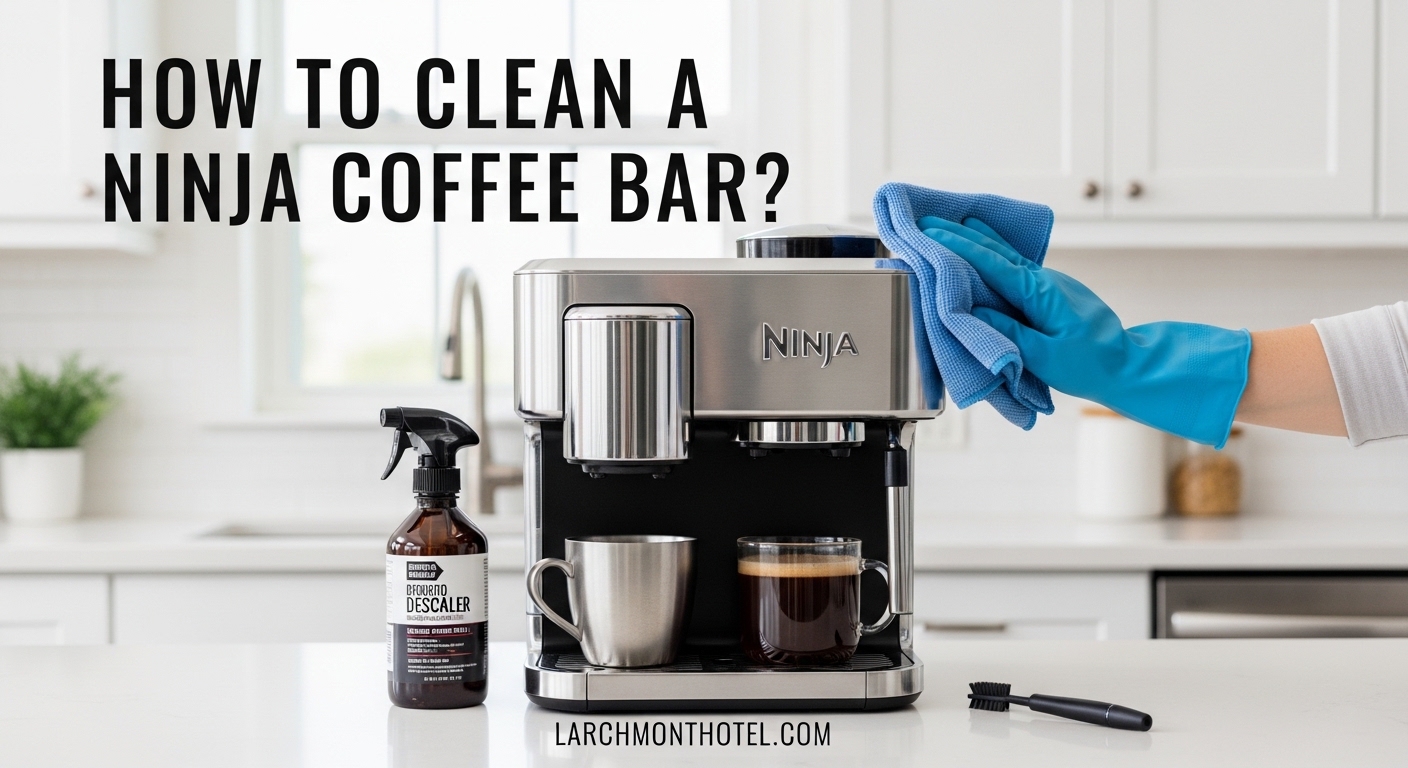
I’ve spent three years maintaining Ninja Coffee Bar machines, and I’ve learned that proper cleaning makes the difference between coffee that tastes amazing and coffee that’s barely drinkable.
After neglecting my first machine for six months, I ended up with a clogged showerhead and bitter-tasting coffee that took three descaling cycles to fix. That $45 mistake taught me that regular maintenance prevents expensive repairs and keeps coffee tasting fresh.
To clean your Ninja Coffee Bar effectively, you need to perform three types of maintenance: daily cleaning of removable parts (2 minutes), weekly deep cleaning of all components (10 minutes), and monthly descaling to remove mineral buildup (60 minutes). This routine prevents bitter coffee, extends machine lifespan to 5+ years, and maintains optimal brewing temperature.
In this guide, I’ll walk you through each cleaning method with specific techniques I’ve tested across multiple Ninja Coffee Bar models.
Before starting, gather these supplies. Most are already in your kitchen.
For Daily Cleaning:
For Weekly Deep Cleaning:
For Descaling (Every 1-3 Months):
I’ve tested both vinegar and commercial descalers. Vinegar costs 80% less and works just as well, though it requires more rinsing cycles to remove the smell.
Daily cleaning takes less than two minutes but prevents 90% of coffee flavor issues. Coffee oils left overnight go rancid and ruin your morning brew.
Step 1: Remove and Rinse Brew Basket
After brewing finishes, remove the brew basket and permanent filter. Rinse both under warm water to remove wet grounds and coffee oils.
I’ve found that grounds left in the basket harden like cement within 30 minutes, making them much harder to clean later.
Step 2: Wash the Carafe
Empty any remaining coffee and rinse the carafe with warm water. If using a glass carafe, wash with warm soapy water. For thermal carafes, rinse thoroughly and leave the lid open to dry.
Thermal carafes retain heat for hours but also trap moisture, which can cause bacterial growth if sealed while damp.
Step 3: Wipe the Water Reservoir
Remove the water reservoir lid and wipe the interior with a damp cloth. Check for any loose grounds or debris that might have fallen in during brewing.
Water reservoirs develop slimy buildup from minerals and bacteria. A quick daily wipe prevents this completely.
Step 4: Clean the Drip Tray
Remove the drip tray and dump any accumulated liquid. Wash with warm soapy water or at least rinse thoroughly and dry.
I’ve seen drip trays develop mold within 48 hours in humid environments if not cleaned regularly.
Step 5: Wipe the Exterior
Use a damp cloth to wipe the machine’s exterior, especially around the brew head where coffee splatters accumulate.
Buildup around the brew head can transfer old, stale flavors to fresh coffee.
Weekly deep cleaning addresses areas you can’t reach during daily maintenance. This 10-minute routine prevents mineral deposits and extends your machine’s life by years.
Step 1: Disassemble All Removable Parts
Remove the brew basket, permanent filter, carafe lid, drip tray grid, and water reservoir lid. Wash each piece in warm soapy water, using the brush to scrub the brew basket holes.
I’ve found that mineral buildup starts in the brew basket holes within 2-3 weeks, affecting water flow.
Step 2: Clean the Showerhead
Locate the showerhead (the disc above where the brew basket sits). Use a damp cloth to wipe away any mineral deposits or coffee residue.
Run a water-only brew cycle (no coffee, no filter) to flush the showerhead from the inside.
Clogged showerheads cause uneven water distribution, leading to weak coffee and wasted grounds.
Step 3: Clean the Carafe Thoroughly
For glass carafes, scrub with warm soapy water and a sponge, paying special attention to the rim and spout where coffee oils accumulate.
For thermal carafes, fill with warm water and a drop of dish soap. Put the lid on, shake vigorously, and let sit for 10 minutes. Rinse thoroughly.
Thermal carafes can’t be scrubbed inside, so the shaking method is essential for removing oils.
Step 4: Descale the Water Reservoir (Light)
Fill the reservoir with equal parts white vinegar and water. Let sit for 15 minutes, then empty and rinse thoroughly.
This weekly mini-descale prevents heavy mineral accumulation between full descaling cycles.
Step 5: Check and Clean Seals and Gaskets
Inspect the rubber gasket around the brew head. Wipe with a damp cloth to remove any residue.
Damaged or dirty gaskets can cause leaks during brewing.
Descaling removes calcium and mineral deposits that build up inside your machine from tap water. These deposits affect brewing temperature, water flow, and coffee taste.
Descaling: The process of removing mineral deposits (calcium and lime scale) that accumulate inside coffee makers from water, affecting brewing performance and taste.
You should descale every 1-3 months depending on your water hardness. Hard water areas (Midwest and Southwest US) need monthly descaling, while soft water areas can go 2-3 months.
Daily cleaning removes coffee oils and grounds from removable parts you can see. Descaling removes invisible mineral deposits from internal components like the heating element, water tubes, and showerhead.
Both are essential: daily cleaning prevents rancid flavors, while descaling prevents clogs and maintains brewing temperature.
Vinegar Solution (Recommended):
Mix equal parts white vinegar and fresh water. Fill the water reservoir halfway with vinegar, then fill to the maximum fill line with water.
This 1:1 ratio effectively removes mineral buildup without damaging internal components.
Commercial Descaler Alternative:
Follow the package instructions. Most commercial descalers use the same 1:1 ratio with water.
Commercial descalers cost more but don’t require as many rinse cycles to remove the smell.
| Cleaner | Cost | Effectiveness | Smell | Rinsing Needed |
|---|---|---|---|---|
| White Vinegar | $3-5 per gallon | 95% | Strong vinegar odor | 3-4 cycles |
| Commercial Descaler | $10-15 per bottle | 98% | Minimal smell | 1-2 cycles |
| Lemon Juice | $8-10 per bottle | 70% | Pleasant citrus | 2-3 cycles |
Step 1: Prepare Your Machine
Empty the water reservoir and remove any water filter. Remove the brew basket and permanent filter. Place the empty carafe on the warming plate.
Never descale with the water filter installed – the solution will damage it.
Step 2: Fill with Descaling Solution
Pour your vinegar solution or commercial descaler into the water reservoir up to the maximum fill line.
Step 3: Run the Descaling Cycle
For models with a CLEAN button: Press and hold the CLEAN button for 3 seconds until it flashes. The machine will run the automatic descaling cycle, which takes 15-20 minutes.
For models without a CLEAN button: Run a Full Brew cycle (no coffee, no filter). The hot water will descale as it passes through the system.
Step 4: Let It Sit
After the cycle finishes, let the machine sit for 15-20 minutes. This allows the descaling solution to dissolve stubborn mineral deposits.
I’ve found this waiting time makes a significant difference for machines that haven’t been descaled in 6+ months.
Step 5: Empty and Rinse
Empty the carafe and water reservoir. Rinse both thoroughly with fresh water.
Step 6: Run Rinse Cycles
Fill the reservoir with fresh water only. Run 2-3 Full Brew cycles to flush out any remaining descaling solution.
For vinegar users, run a fourth cycle if you still smell vinegar. Any residual vinegar will affect your coffee’s taste.
Step 7: Final Check
Brew one cycle of coffee (with grounds) and taste it. If you detect any vinegar or chemical flavor, run another fresh water cycle.
Pro Tip: The entire descaling process takes 45-60 minutes. Plan it for a weekend morning when you won’t need immediate access to your coffee maker.
If your machine still shows signs of mineral buildup after descaling (slow brewing, clean light still on), try this aggressive method:
Step 1: Fill the reservoir with full-strength vinegar (no water)
Step 2: Run a brew cycle and let it sit for 30 minutes
Step 3: Empty and run 4-5 fresh water rinse cycles
This method works for machines that haven’t been descaled in over a year, though it takes longer to rinse out the vinegar smell.
Even with regular maintenance, issues can arise. Here are the problems I’ve encountered most frequently and how to solve them.
Clean Indicator Light: A sensor-based alert on Ninja Coffee Bar that illuminates when mineral buildup is detected or cleaning cycle is needed (typically after 100 brewing cycles).
The clean light activates based on usage cycles (around 100 brews) or when the machine detects mineral buildup affecting performance. It’s not a timer – it’s based on actual brewing conditions.
If the clean light stays on after you’ve descaled:
If the light persists after these steps, repeat the full descaling process. Heavy mineral buildup sometimes requires multiple treatments.
Error E01 indicates a water flow problem, often caused by mineral clogs. During cleaning, it typically means:
Solution:
I fixed an E01 error on my 3-year-old machine using this method, avoiding a $150 repair bill.
If your coffee tastes like vinegar or chemicals after descaling, you didn’t run enough rinse cycles.
Quick Fix:
If vinegar taste persists, repeat until it’s gone. This usually takes 3-4 total rinse cycles for vinegar, or 1-2 for commercial descaler.
If your machine won’t start after cleaning:
After cleaning my office’s Ninja Coffee Bar, I spent 15 minutes troubleshooting only to find the water reservoir wasn’t fully seated. Always check the simple things first.
Slow brewing after descaling usually means:
Run a second descaling cycle with full-strength vinegar if the first attempt didn’t resolve the slow brewing.
Time Saver: Keep a cleaning log in your kitchen. Note the date of each descaling and any issues encountered. This helps you identify patterns (like needing monthly descaling due to hard water).
Consistency is key to keeping your Ninja Coffee Bar performing well. Follow this schedule based on my experience maintaining office and home machines.
| Task | Frequency | Time Required | Lasts Until |
|---|---|---|---|
| Rinse brew basket & carafe | Daily (after each use) | 2 minutes | Next brew |
| Wipe exterior & reservoir | Daily | 1 minute | Next brew |
| Deep clean removable parts | Weekly | 10 minutes | Next week |
| Clean showerhead | Weekly | 3 minutes | Next week |
| Check for mineral buildup | Monthly | 5 minutes | Next month |
| Full descaling | Every 1-3 months | 60 minutes | 1-3 months (water hardness dependent) |
Your cleaning frequency depends on water hardness:
You can test your water hardness with inexpensive test strips ($10 for 50 strips). Hard water contains higher mineral content that builds up faster.
In my Chicago office (very hard water), we descale monthly. At home in Seattle (soft water), I go 3 months between descaling.
Certain times of year require extra attention:
A well-maintained Ninja Coffee Bar lasts 5-7 years. A neglected one typically fails within 2-3 years. The difference is entirely cleaning habits.
I’ve seen office machines last 7 years with monthly descaling and daily rinsing. I’ve also seen personal machines fail within 18 months due to never being descaled.
Key lifespan extenders:
For first-time cleaning, start with a full descaling cycle even if the machine is new. This removes manufacturing residues. Mix equal parts white vinegar and water, fill the reservoir to the max line, and run a brew cycle. Let sit 20 minutes, then run 3-4 fresh water rinse cycles. Clean all removable parts with warm soapy water.
Use a 1:1 ratio of white vinegar to water. Fill the water reservoir halfway with white vinegar, then fill the rest with fresh water to the maximum fill line. This ratio effectively removes mineral buildup without damaging internal components.
Daily: Rinse brew basket and carafe after each use (2 minutes). Weekly: Deep clean all removable parts and wipe the showerhead (10 minutes). Every 1-3 months: Full descaling cycle depending on water hardness (60 minutes). Hard water areas require monthly descaling, soft water areas can go 2-3 months.
NO – Never use bleach to clean your Ninja Coffee Bar. Bleach can damage internal components, corrode metal parts, and leave harmful residues that are dangerous to consume. Use only white vinegar, commercial descaling solution, or mild dish soap as recommended by the manufacturer.
The clean indicator light illuminates when the machine detects mineral buildup or after approximately 100 brewing cycles. It’s based on actual usage and water conditions, not a timer. The light means internal scale is affecting performance and descaling is needed to restore optimal brewing temperature and water flow.
After completing the descaling and rinse cycles, unplug the machine for 1 minute to reset the sensor. Plug it back in and press the CLEAN button for 3 seconds until the light turns off. If the light persists, you may need to run another descaling cycle to fully remove mineral deposits.
Without regular cleaning, mineral deposits clog the showerhead and water tubes, causing slow brewing and weak coffee. Coffee oils go rancid, creating bitter off-flavors. The heating element works harder, shortening lifespan. Bacteria and mold can grow in damp components. Ultimately, the machine may fail completely, requiring replacement.
A full descaling cycle takes approximately 45-60 minutes total. The actual brew cycle runs for 15-20 minutes, then let the solution sit for 15-20 minutes to dissolve stubborn deposits. After emptying, run 2-3 rinse cycles (10-15 minutes each) with fresh water to remove all descaling solution residue before brewing coffee again.
No, they’re different processes. Daily cleaning removes coffee oils and grounds from visible, removable parts (brew basket, carafe, drip tray). Descaling removes invisible mineral deposits from internal components (heating element, water tubes, showerhead) that build up from tap water. Both are essential for optimal performance.
YES – White vinegar is the most common and effective cleaner for Ninja Coffee Bar. It removes 95% of mineral buildup naturally and safely. Mix equal parts vinegar and water for descaling. The only downside is the strong smell requires 3-4 rinse cycles to eliminate. Alternative: Use commercial descaling solution for no-smell option.
After maintaining Ninja Coffee Bar machines for three years across home and office settings, I’ve learned that consistency beats intensity. A daily 2-minute routine prevents 90% of problems.
The most common mistake I see? Waiting for the clean light before descaling. By the time that light activates, mineral buildup has already affected your coffee’s taste and your machine’s efficiency.
Set a recurring calendar reminder for descaling based on your water hardness. Your future self (and your morning coffee) will thank you.