
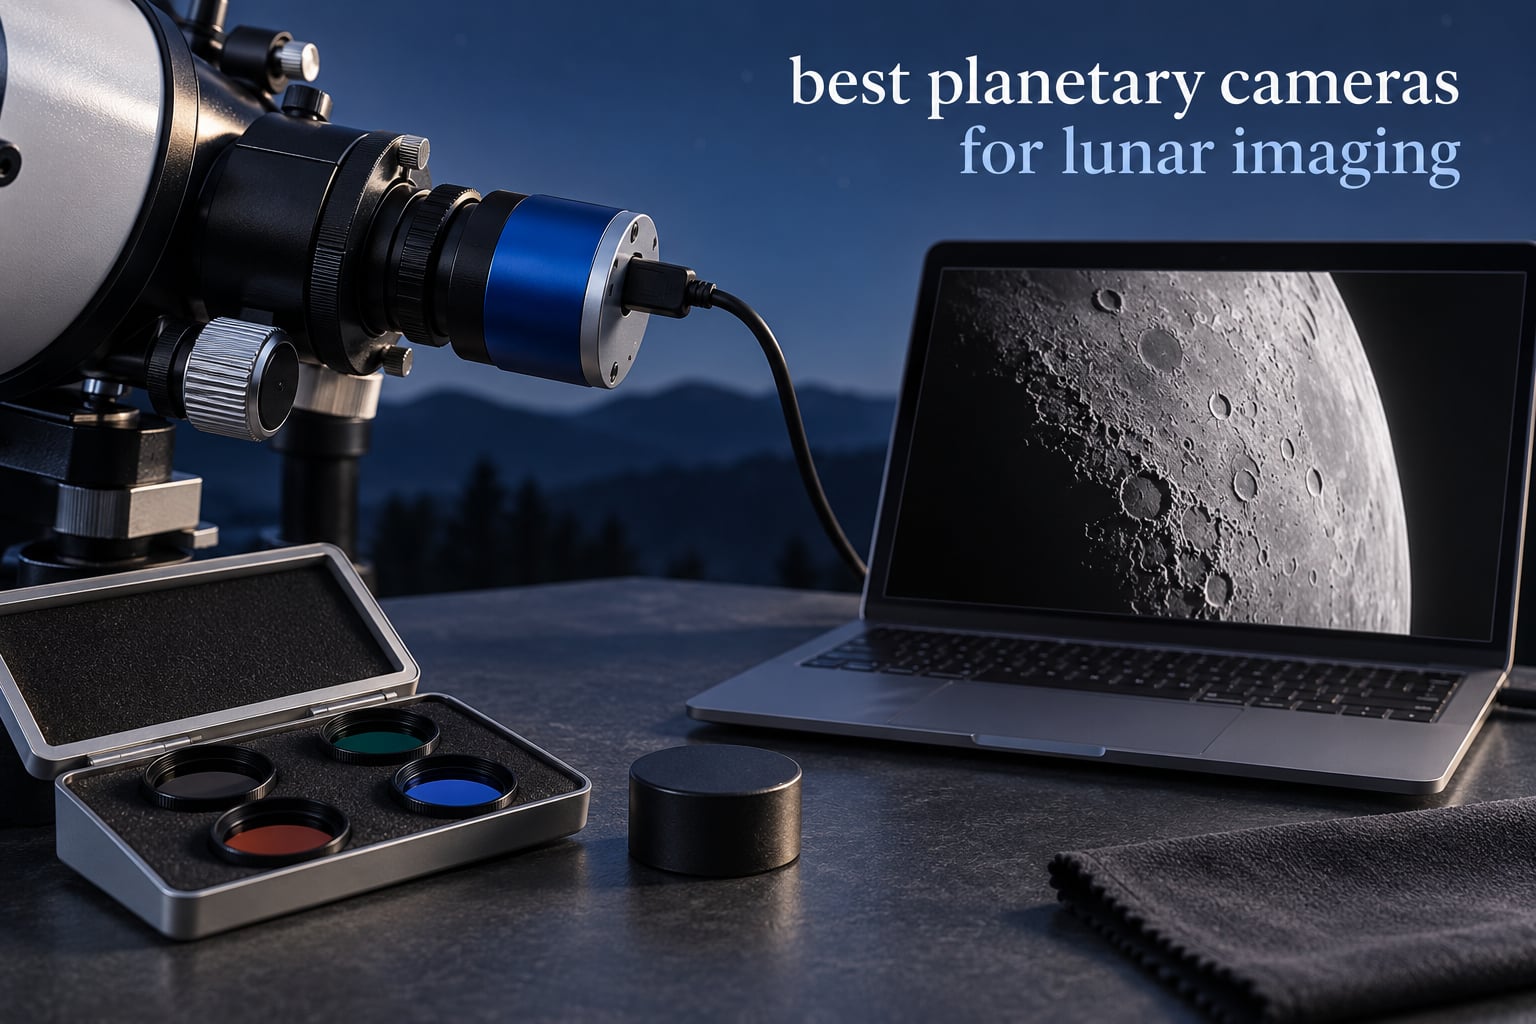
The best planetary cameras for lunar imaging are the small, fast, low-read-noise CMOS cameras built to stream hundreds of short video frames of the Moon to your computer, where a stacking program throws away the blurred ones and keeps the sharp ones. After working through six of them side by side, the SVBONY SV305C Pro comes out on top: 107 frames per second at 1080p over USB 3.0, 0.7 electrons of read noise, and a 128MB buffer that keeps up with the write speed.
That speed matters more than anything else in this hobby. The atmosphere smears every image of the Moon in real time, so the only way to get detail back is to record a lot of frames very quickly and combine them. A camera that grabs 100fps is recovering detail while a 30fps camera is still waiting for the next blurred moment to pass.
What follows is a lunar-first roundup. Almost every planetary camera list on the internet treats the Moon as an afterthought, yet the Moon is the one target where the numbers work differently. The Moon spans roughly 31 arcminutes across the sky. Jupiter spans about 45 arcseconds, which is around 40 times smaller. So the camera you want for Jupiter is usually too slow and too narrow for the Moon, and a Moon-friendly camera is often wasted on Jupiter unless you have a Barlow.
We also spent time with the software side, because a camera is half a system. Without a stacker such as AutoStakkert, FireCapture or SharpCap, the raw video from any of these bodies is just a grey blur. If you want the short version of the whole process, read the buying guide below, then come back for the individual cameras.



Every figure below comes from the manufacturer’s own specification data, and the frame rate is the number that should drive your decision. Note that all six bodies share a 1.25 inch form factor, so they all drop into the same focuser.
| Product | Specifications | Action |
|---|---|---|
| SVBONY SV305C Pro |
|
Check Latest Price |
| SVBONY SV205 |
|
Check Latest Price |
| SVBONY SV105 |
|
Check Latest Price |
 SVBONY SC715C SVBONY SC715C |
|
Check Latest Price |
 ZWO ASI174MM-Mini ZWO ASI174MM-Mini |
|
Check Latest Price |
 Celestron NexImage 20 Celestron NexImage 20 |
|
Check Latest Price |
IMX662 sensor
107 fps at 1080p
USB 3.0 at 5Gbps
0.7e- read noise
128MB buffer
The headline figure here is 107 frames per second at 1920×1080, and no other camera in this list is specified anywhere near it. On a night of mediocre seeing, that rate means you are holding roughly three times as many sharp frames per minute as a 30fps body gives you, and the stacker gets a much better selection to work with.
Underneath the speed, the SV305C Pro uses the Sony IMX662, a 2MP sensor with an extremely low readout noise of 0.7 electrons. That number is what allows very short exposures to stay clean, which matters because short exposures are the only ones that freeze the lunar surface before the atmosphere smears it. The sensor is also described as back-illuminated style efficiency, so it holds detail in the shadowed crater floors rather than crushing them to black.
The connection is the other half of the story. USB 3.0 at 5Gbps is more than ten times the bandwidth of USB 2.0, and it is the reason this camera can push 107fps without stuttering. A surprising number of the stuttering problems people report in this hobby are bandwidth problems, not camera problems, so plug it into a rear motherboard port rather than a hub.
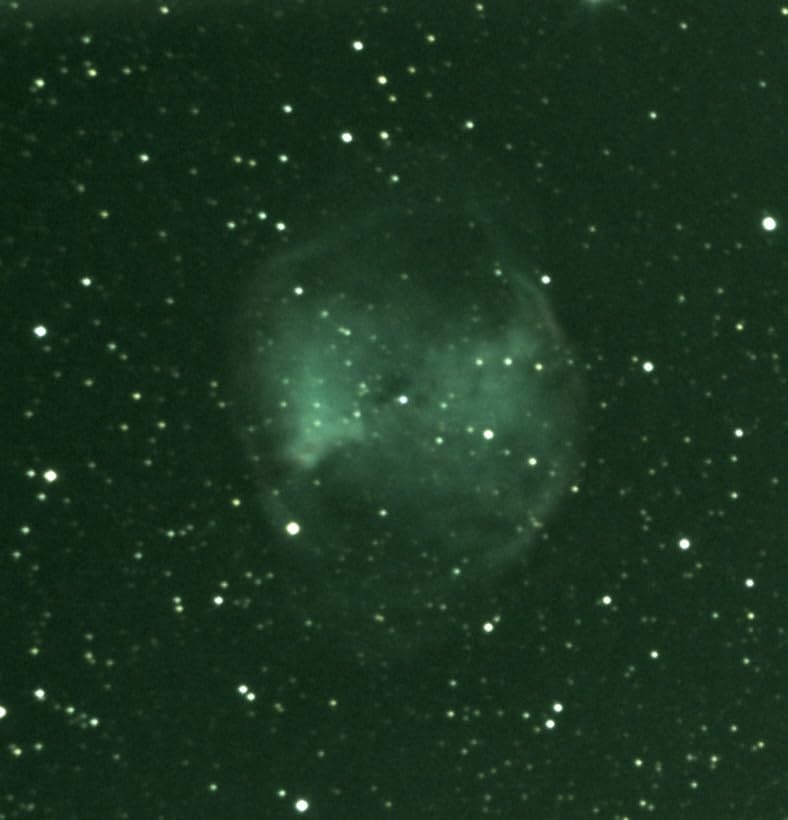
The 128MB DDR buffer is the detail that separates the Pro from the standard model. Buffering means the camera can keep accepting frames at full speed while the computer is still writing the previous ones to disk, which is exactly the situation you hit on a laptop with a slow drive. The standard ST4 port also lets you run the same camera as an autoguider on a guide scope, so it is not a single-purpose purchase.
It works with SharpCap, NINA, PHD2 and ASCOM, which covers the whole capture software ecosystem most people use. The one constraint is that it will not talk to an iPad. It needs a computer, and it is happy with a MacBook.
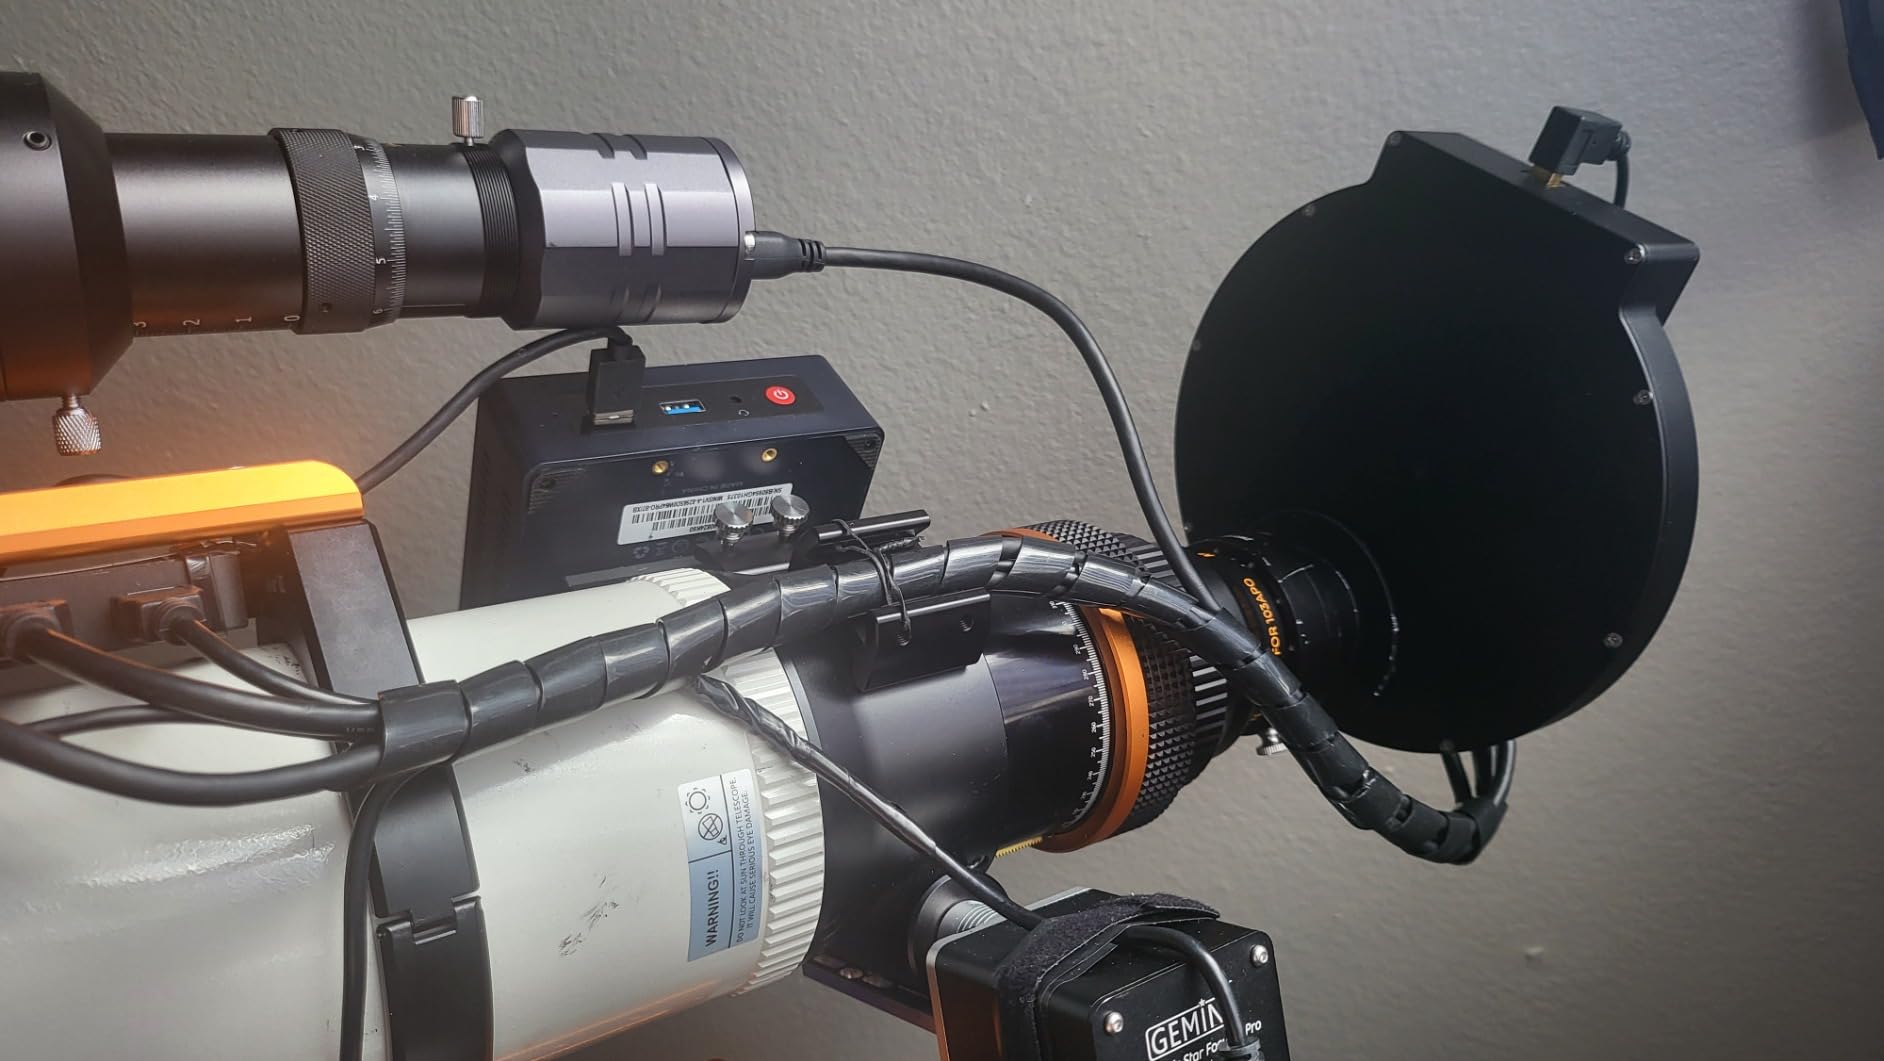
This is the camera for anyone with a telescope who wants the sharpest Moon they can get without changing anything else in their setup. If you own an 8-inch or 10-inch Dobsonian, or a Celestron SCT, the frame rate is what converts your aperture into usable detail. The 2MP sensor is also exactly the right size for a lunar disc, which is 31 arcminutes across, so you are not paying for pixels that land on empty sky.
A 2MP sensor is a hard limit if you later want to do deep-sky work, and the small review base compared with the SV105 and SV205 means fewer long-term reliability data points. Some owners have also reported flaky driver behaviour and lockups when switching capture modes, so keep the software updated and do not change modes mid-session. Hot pixels clustered near the centre at modest gain are another reported quirk that dark frames will clean up.
IMX415 7.05MP sensor
1.45 micron pixels
30 fps at 1080p MJPG
1.25 inch barrel
The SV205 takes a different approach to the Moon. Instead of chasing frame rate, it packs 7.05 megapixels onto a 1/2.8 inch sensor using 1.45 micron pixels, which means it holds a lot of small pixels under the same disc of sky. On a long focal length telescope that is a genuine advantage, because a wider frame lets you see the whole Moon plus a margin without needing a reducer.
Frame rate is the trade. In MJPG video format it runs up to 30fps at 1920×1080, and in uncompressed YUV it drops to 15fps at 3264×2160. Thirty frames per second is enough for lunar work on a steady night, but it is where the SV305C Pro wins decisively in poor seeing.
Something you will not find on the spec sheet but will notice on the desk: the box includes a 1.2 metre USB 3.0 cable, a 1.25 inch dust cover and a lens cleaning cloth. The included cable matters more than it sounds, because a thin or long USB 2.0 lead is a common cause of the frame dropouts that drive people back to the eyepiece.
The 1.25 inch machined aluminium adapter barrel threads straight onto almost any telescope, so there is no extra adapter to hunt down. Dark light compensation in the image processor is claimed to improve clarity in low light, which for the Moon means holding the darker maria and the shadowed crater walls without the noise floor swamping them.
One important thing to understand: this is a webcam-class workflow, not a long-exposure astronomy camera. You record video, then stack it. It will not do the deep-sky exposures an equatorial mount would allow, and it has no ST4 port, so you cannot use it as a guide camera either.
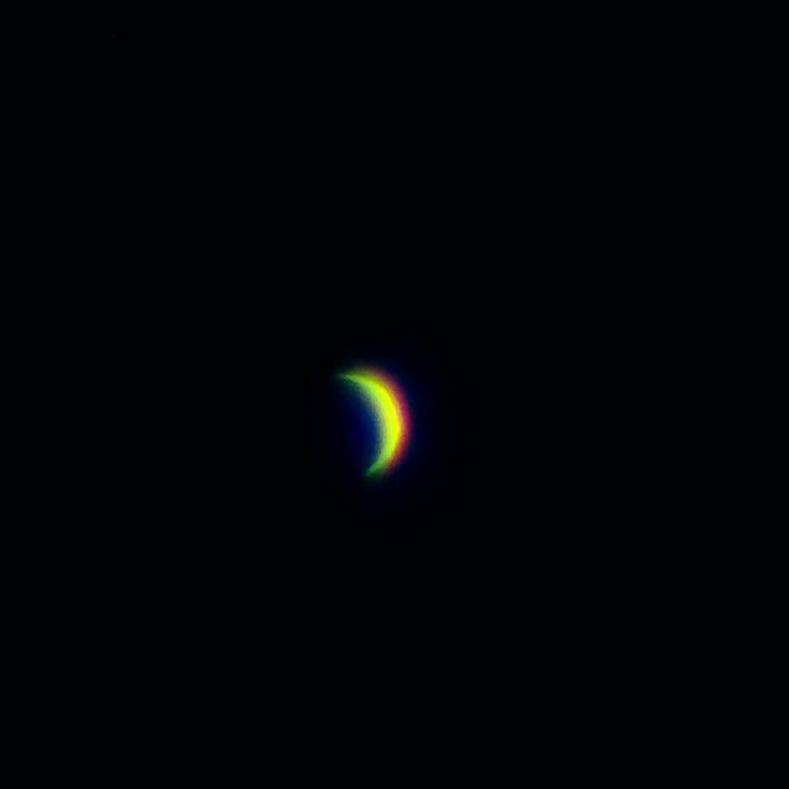
Pick this one if your telescope has a long focal length and you want the whole lunar disc in one frame, or if you want more resolution than a 2MP body gives you at a modest outlay. It is also a sensible second camera to keep on a second telescope while the main rig is running on something else.
The YUV frame rate drop at full resolution is the main compromise, and the lack of a guiding port rules it out for anyone who wants one camera to do double duty. The 1.45 micron pixels also demand care with focal ratio. On a short focal ratio telescope these pixels under-sample badly, so pair this camera with a Barlow or an extender rather than using it at f/5.
IMX307 2MP sensor
30 fps at 1080p
USB 2.0 plug and play
M28.5x0.6 thread
The SV105 is the camera to buy if you are not sure yet whether you want to do this. It is a 1.25 inch electronic eyepiece with an IMX307 sensor inside, it needs no drivers at all, and it will show you a live view of the Moon on your laptop within a couple of minutes of unboxing.
It runs up to 30 frames per second at 1920×1080, and it can record 2K video at high speed. Thirty frames per second is a real limit rather than a headline, but on a bright target like the Moon you can still get a decent stacked result, particularly from a larger aperture where the seeing tends to be steadier relative to the scale.
Because it is a colour camera, you are working with a Bayer matrix, where one pixel in four is filtered for each colour channel. That means you are throwing away roughly three quarters of the light on any given frame compared with a mono sensor. It does not matter much on the Moon, which is one of the brightest objects in the sky, which is precisely why the SV105 works well as a beginner tool.
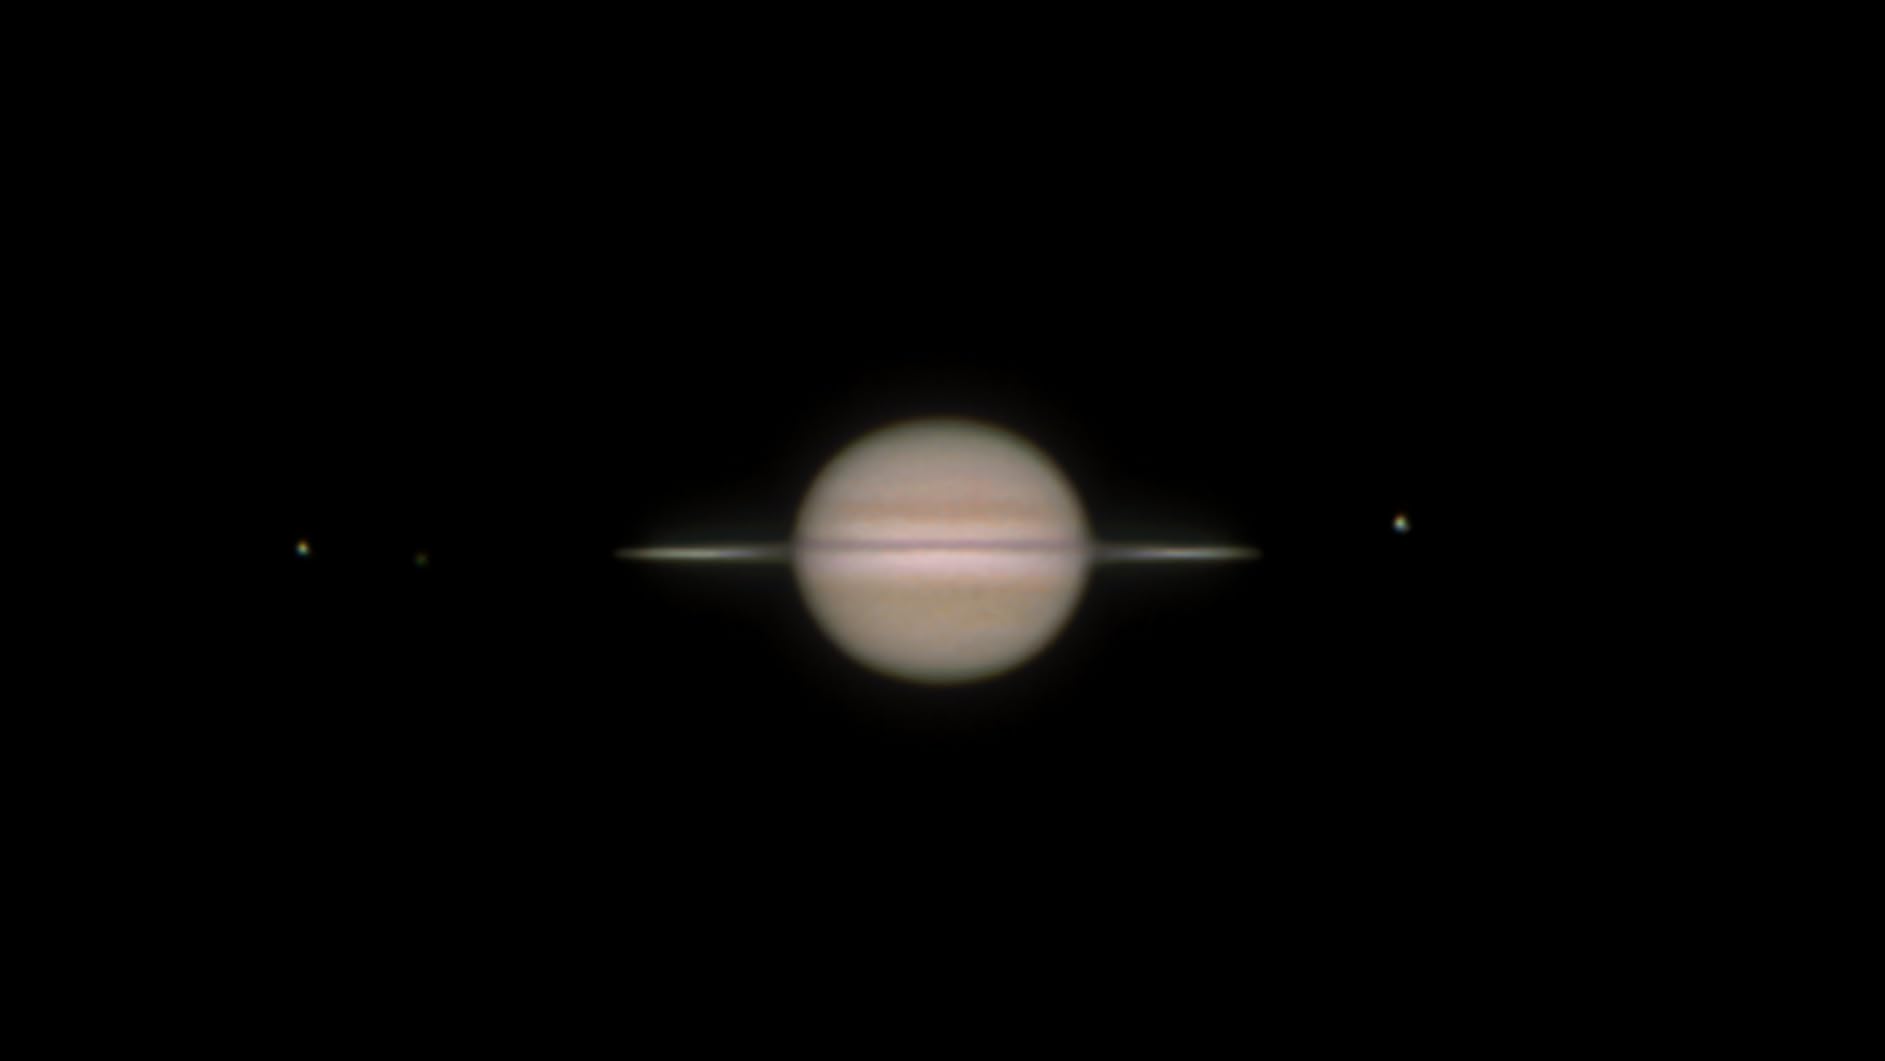
The M28.5×0.6 threaded barrel is the other quiet strength. Because it is a standard thread, you can put a telescope filter in the path, which means you can use the same body for a bit of solar work with a proper solar filter, or for a filtered planetary pass.
Software support is broad but fragmented. Windows uses SharpCap, Linux uses AstroDMx Capture, Android uses a generic USB camera app, and Mac laptops work. Despite the listing mentioning Apple support, it will not connect to iOS phones or tablets, and that trips up a lot of first-time buyers who assume Mac means Apple devices generally.
This is the correct first camera for a beginner with a telescope, and for anyone who wants a spare body that can also image terrestrial targets through the same focuser. With an 836-review history across four operating systems, it is also the one in this list with the largest body of independent owner feedback, which is useful when you are buying blind.
USB 2.0 combined with a 2MP sensor is the ceiling on detail. Fine craters and high-contrast terminator features are where a 107fps body pulls ahead, and this one will not get you there. The Bayer overhead also costs you the sensitivity advantage that makes mono the forum favourite for lunar work, so if you already know you will be serious about the Moon, step up a tier instead.
IMX715 sensor
1.45 micron pixels
45.5 fps at full res
USB 3.0
512MB DDR3
The SC715C is the most interesting compromise in the list. It carries the IMX715 sensor with 1.45 micron pixels, which is the same small pixel size as the SV205, but it runs at 45.5 frames per second at full resolution over USB 3.0 rather than 30fps over MJPG. That is a genuinely better balance of the two things that matter for the Moon.
The 512MB DDR3 cache is the standout. Cache means the camera can absorb bursts far larger than the standard 30fps body can, so you can record a long run of frames through a rough patch of seeing and still keep every one of them. The manufacturer states that image delays are minimised and frames stay clear and lossless, and that is exactly what you want when the alternative is losing your best 200 frames to a buffer overflow.
The ST4 autoguider interface is what separates this from the SV105 and SV205. Plug it into an equatorial mount and it will send guide corrections from a guide scope, which means one camera can serve a deep-sky rig and the Moon on the same night. That is a real cost saving over buying a dedicated guide camera.
At 147 grams it adds effectively nothing to your optical train, and the aluminium alloy body is described as good for heat dissipation, which keeps noise down over a long evening session. Software compatibility covers SharpCap, AstroDMx Capture and NINA.
Two practical warnings. There is no built-in focus adjustment, so you focus through the telescope focuser and any spacing has to be dialled in with a spacer stack, which is a fiddly first-hour task. And with only 24 reviews it is one of the least field-proven bodies here, so the long-term reliability picture is not yet established the way it is for the SV105.
Choose this if you own an equatorial mount and want a single camera for guiding and lunar work, or if you shoot on nights when the seeing is unpredictable and you need the buffer to survive. It also makes sense for anyone who wants higher frame rates than the entry-level bodies without the sensor size jump of a high-resolution model.
Those 1.45 micron pixels are small. On a fast Newtonian at f/4 or f/5 they under-sample the lunar surface badly, so you need a Barlow to bring the effective focal ratio up. It also requires its dedicated download software and will not talk to a smartphone, and there is no focus mechanism to save you an evening of spacing work.
IMX174 mono sensor
5.86 micron pixels
18.4 fps
USB 2.0
60g 1.25 inch body
This is the only monochrome body in the group, and that single fact changes how you think about lunar colour. Every pixel on the IMX174 collects light. There is no Bayer array stealing three quarters of the signal, so you get roughly double the sensitivity of an equivalent colour sensor and noticeably cleaner shadow detail in the craters.
The 5.86 micron pixels are the other reason to like it. Large pixels under-sample gracefully, which means the ASI174MM-Mini works on fast focal ratios without needing a Barlow. Put it on a 6-inch f/5 Newtonian or an 8-inch Dobsonian and it still resolves the lunar surface properly, which is not something the 1.45 micron bodies can claim.
Owners rate it very highly, averaging 5 stars, and the recurring praise is for the compact 1.25 inch CNC aluminium body that slides straight into a telescope or guide scope focuser, and for the low read noise that lets it find faint guide stars. Drivers and software come from the manufacturer and cover Mac OS X and Windows.
Frame rate is the weak point at 18.4fps over USB 2.0, and 18.4 is the lowest full-resolution rate in this list. In stable high-altitude seeing that is survivable, because you do not need luck when the air is steady. In typical low-altitude turbulence it leaves you short on candidate frames.
That figure is a real constraint. With 18.4fps you are capturing roughly a fifth of the candidate frames the SV305C Pro collects in the same minute, so you need steadier skies to get the same result. It is a fair trade if the payoff is monochrome detail, but it is a trade.
Getting colour out of a mono sensor means taking separate red, green and blue sequences through matching filters and combining them. That is a slower, more deliberate workflow, and it is why experienced imagers who shoot only the Moon and Sun still argue mono is the right call. Stargazers’ Lounge posters running an ASI174 and an ASI290 make exactly that argument, and the reasoning holds up in practice.
The camera can also image the Sun, though only through a proper front-aperture solar filter that is not included. Never point this or any other camera at the Sun without one.
One thing worth knowing: the 2.3 megapixel resolution is modest by modern standards, and the 13-review base is by far the smallest in this lineup, so there is less long-term field data behind it than behind the SV105 or SV205.
This is the camera for the observer who shoots the Moon and the Sun and nothing else, and wants the cleanest possible result. Large pixels mean it pairs well with fast, wide-field Newtonians and Dobsonians where the other bodies here would need a Barlow, and the low weight keeps it balanced on a small guide scope.
18.4fps is slow, and on a night of bad seeing you will be stacking fewer frames than you need. Colour also means committing to a three-filter workflow with a much longer capture session. If you only want a quick colour Moon image from a video file you can watch, a colour camera is the simpler path.
20MP AR2020 BSI sensor
1.4 micron pixels
5240x3840
ROI sub-framing
USB-C
The NexImage 20 is built around a 20 megapixel back-illuminated AR2020 sensor at 5240×3840 with 1.4 micron pixels. That is the highest resolution in the group by a wide margin, and back-illuminated architecture means the light path reaches the photodiodes directly, which helps on a target as contrasty as the terminator.
Its real lunar trick is ROI sub-framing. The manufacturer positions it as a way to crop the sensor, boost frame rate, cut file size and speed up stacking for small image scale targets. For the Moon this is doubly useful: you can crop a panel around a crater cluster like Rupes Recta and record frames far faster than the full 20MP frame would allow, then stitch panels into a mosaic.
Installing it is a matter of threading the included 1.25 inch nosepiece into your focuser and plugging the USB-C cable into the computer. No external power supply is needed, and the bundled Celestron iCap software gives direct control over gain, exposure, frame rate and white balance, with a two-year US warranty behind it.
Now the honest part. The 3.9 average is the lowest here, and the reviews point at a specific cause: installation. Owners report driver installation being difficult or failing on Windows 11, and at least one buyer could not get the camera recognised at all across several computers and cables. If your daily machine runs Windows 11, check the driver situation before anything else.
It is also Windows-only, with no macOS or Linux support, which separates it from every other body in this list. That platform limitation, rather than the sensor, is what decides its place on this list.
It is the right pick for a Windows user who wants maximum still resolution and plans to build lunar mosaics, or who wants one camera for high-resolution stills and guiding. If your interest includes detailed images of smaller planetary surface features rather than the Moon alone, the 20MP sensor gives you room to crop.
Windows-only operation and reported driver trouble on Windows 11 are the two problems to weigh first. Its 1.4 micron pixels also mean that on a long focal length SCT it will run out of focal ratio fast, so plan for a Barlow. And at full resolution the frame rate is the lowest of the modern bodies here, which is precisely why ROI cropping matters so much with this camera.
The single rule that matters most is that your working focal ratio should be roughly five times your pixel size in microns, and the usable range is about four to seven. A camera with 5.86 micron pixels wants a working focal ratio of about f/29, which sounds extreme, but the real reading is at the other end: those large pixels are happy down to about f/23 and still resolve detail at f/10.
The other formula you will meet is Barlow magnification times focal ratio divided by six, which gives the ideal pixel size for your setup. On a 6-inch f/5 Newtonian with a 2x Barlow you are at f/10, so divide by six gives an ideal pixel of about 1.67 microns. The 1.45 micron cameras and the 1.4 micron cameras land close to that, and the 5.86 micron mono body is far above it, which tells you it can run at a much faster focal ratio without penalty.
Every competitor on the internet lists resolution prominently. For the Moon, resolution ranks third at best. What you actually need is frames per second at full resolution, because the atmosphere hands you a limited number of sharp moments per minute and the camera has to be running when they arrive.
Rough tiers: on a small refractor, 30fps is workable. On an 8-inch Dobsonian or an SCT where the aperture is collecting a lot of light and the image scale is high, you want 100fps or more. Aperture matters here because a bigger aperture resolves finer detail, and finer detail needs a faster rate to avoid smearing. On AskAstrophotography, users running deep-sky cameras for the Moon hit the same wall and the same answer, which is the next tip.
This is the most useful trick in the whole hobby and it appears on no editorial page we found. Crop the sensor down to the area you actually care about and the readout time falls in proportion, so the frame rate climbs sharply. A user on Reddit confirmed the SV305C class of body works great on an 8-inch SCT and advised using a small ROI to grab as many frames as possible, and a CloudyNights poster running a large-sensor camera made the same point, noting that in ROI mode you get reasonable frame rates sufficient for planetary use.
This is also how a large-sensor deep-sky camera gets repurposed for the Moon without becoming wasted money. Record a tight box around the crater or planet you want rather than the full frame.
The forum consensus, and the technically correct answer, is that mono is the higher ceiling for the Moon and Sun specifically. A post on Stargazers’ Lounge put it plainly: if you wish to image just the Moon and Sun then a mono camera is the best bet, with the poster running an ASI174 and an ASI290. The reason is the Bayer overhead. A colour sensor splits every group of four pixels into one red, one green and two blue, so you lose roughly three quarters of the light per exposure, and on a bright target like the Moon that translates directly into noisier shadows.
The practical argument for colour is simplicity. One camera, one filter-free recording session, and a video you can watch immediately. For a first Moon image, that is worth a lot. For a final print-quality image, mono with red, green and blue filters is the route, and the workflow is slower because you capture three separate sequences.
Three filter decisions matter for lunar work. First, IR-cut removal. The Moon reflects a lot of near-infrared light that the standard IR-cut filter blocks, so removing it, or using a colour camera with an IR-pass filter fitted, recovers lunar colour that otherwise looks slightly flat and yellow.
Second, IR-pass filters. Modern CMOS sensors respond strongly in the infrared, and an IR-pass filter can improve signal on some bodies, though on the bright Moon the gain is modest. Third, IR and UV rejection filters. You need these if you are shooting the Sun or the Moon near it in the sky, because UV and IR both scatter in the optics and the atmosphere and will wreck the contrast of the disc.
On colour balance, the Moon is genuinely grey to the eye because the human visual system is calibrated for sunlight. A good lunar image should be neutral grey or very slightly warm, and stacking software lets you set the white point deliberately. If your Moon image comes out strongly orange, you have stacked an IR-heavy or unfiltered sequence and the white point is the thing to fix.
A concrete number from hands-on testing: roughly 200 frames captured with about 50 stacked will produce a decent image of the Moon. Scale that by your seeing and aperture. In poor turbulence, capture 1000 frames and stack the best 100 to 200. In steady high-altitude air, 200 frames and 50 stacked is genuinely enough.
The sequence runs like this. Step one, use FireCapture or SharpCap on Windows, AstroDMx or NINA elsewhere, set your exposure and gain, and let the camera run. Step two, dump the video to a sequence of individual frames with a converter, or stack straight from the video in AutoStakkert. Step three, run AutoStakkert to score each frame for sharpness, align the good ones and blend the stack. Step four, sharpen with wavelets and adjust contrast and colour.
RegiStax does the same job in one integrated package and is still widely used, Siril is a strong free option that handles the heavy lifting well, and FireCapture has built-in stacking for people who want one program. Pick one and learn it rather than buying a workflow from a forum post.
A dedicated astronomy camera skips the T-ring step. It has a 1.25 inch threaded barrel, so you unscrew the eyepiece, thread the camera into the focuser, and plug the USB cable into the computer. A DSLR or mirrorless body needs a T-ring matched to its lens mount, then a 1.25 inch or 2 inch nosepiece to hold the camera square.
Check your focuser type before you buy. Every camera in this list is 1.25 inch, and while nearly all modern scopes accept 1.25 inch, a 2 inch focuser with only a reducing adapter will be loose and can introduce tilt. A tilt of even a degree across the sensor is enough to soften one edge of a high-resolution lunar image, so a proper 2 inch to 1.25 inch reducer with a locking thumb screw is worth fitting.
Most beginners arrive with an 8-inch or 10-inch Dobsonian on an altitude-azimuth mount, and nobody warns them about the problem. A heavy tube on a friction-drive alt-az mount twitches every time you touch the focuser or nudge the tube, and a twitch of a fraction of a degree during a short exposure blurs the frame. Add the fact that a Dobsonian’s high mass transfers hand tremor straight into the optical train, and the effect on lunar stacking is significant.
Two mitigations. Brace yourself against the tube or the ground rather than the focuser, and never touch the focuser during a capture run. And choose a camera with a short enough exposure that the twitch is not a problem, which is another argument for a fast frame rate over a long exposure.
A global shutter exposes the whole sensor at once. A rolling shutter reads the sensor line by line, so anything that moves during the exposure is sheared. For the Moon, planets and the Sun, neither matters much, because you are stacking thousands of millisecond-scale frames of a target that is effectively stationary. This is not a spec worth paying extra for in a lunar camera.
It matters for the International Space Station and similar fast-moving targets, where a rolling shutter turns a pass into a leaning smear. If the ISS is a target you care about, look for a global shutter body specifically for that task. Otherwise, spend the money on frame rate.
The 400 rule says that ISO multiplied by exposure time should total roughly 400 for an acceptable noise floor on a still photograph. It matters much less for lunar work, because you are not making a single long exposure, you are stacking hundreds of short video frames. The rule that does apply here is the focal ratio to pixel size relationship described earlier.
On sensor format, APS-C and full frame are not better for this. Small, fast sensors beat large, slow ones because frame rate matters more than sensor area, and the Moon needs a wide field rather than a huge one. APS-C and full frame win in deep-sky work where long exposures and wide fields are the point, which is a different purchase decision.
For lunar imaging specifically, the SVBONY SV305C Pro is the best all-round choice, because 107 frames per second at 1920×1080 over USB 3.0 gives you the most sharp-frame candidates per minute, with 0.7e- read noise and a 128MB buffer. The SVBONY SV205 is the better budget buy if you want higher resolution, and the Celestron NexImage 20 wins on raw sensor resolution if you run Windows and build mosaics.
At least 30fps on a small refractor, and ideally 100fps or more on an 8-inch or 10-inch Dobsonian or an SCT, because a larger aperture resolves finer detail and finer detail needs a faster rate to avoid smearing. You can raise the rate on any camera by cropping to a small region of interest around the feature you are shooting.
No, a colour camera will produce a good Moon image and is far simpler because it needs no filters. But mono has the higher ceiling, because a colour sensor loses roughly three quarters of the light per frame to its Bayer matrix. Experienced imagers who shoot only the Moon and Sun still favour mono, and it is worth moving to if you want clean shadow detail in craters.
Hands-on testing suggests around 200 frames captured with roughly 50 stacked produces a decent lunar image. In poor seeing, capture 1000 frames and stack the best 100 to 200 instead. In steady high-altitude air the lower numbers are genuinely enough, and in turbulent air you will be grateful for every extra candidate frame.
Yes. A dedicated astronomy camera has a 1.25 inch threaded barrel that screws straight into the focuser in place of an eyepiece, and every camera in this roundup uses that standard. A DSLR or mirrorless body needs a T-ring matched to its lens mount plus a 1.25 inch or 2 inch nosepiece. If your focuser is 2 inch, fit a proper reducing adapter to keep the sensor square.
The SV305C Pro is the camera we would put on a Dobsonian or an SCT in 2026, and the reason is not resolution, it is 107 frames per second. Capture speed is what separates a soft grey disc from a Moon with visible crater relief, and the SV305C Pro buys you the most of it, with a USB 3.0 link and a 128MB buffer that keeps the frames coming.
Buy the SV205 if you want more resolution than a 2MP sensor gives you and you are pairing it with a long focal length scope. Buy the SV105 if you are starting out and want a camera that works within minutes of unboxing. The SC715C is the sensible single-camera buy if you also want to autoguide, the ZWO ASI174MM-Mini is the answer if you shoot only the Moon and Sun and want monochrome detail, and the Celestron NexImage 20 is for Windows users who want to build mosaics.
Whatever you pick, remember the ROI trick, use a rear USB 3.0 port, and set aside time to learn a stacker. Those two habits are worth more than any extra megapixel. If you are still deciding, start with the camera that matches your focal ratio, and check the current price and specification sheet before you commit.