

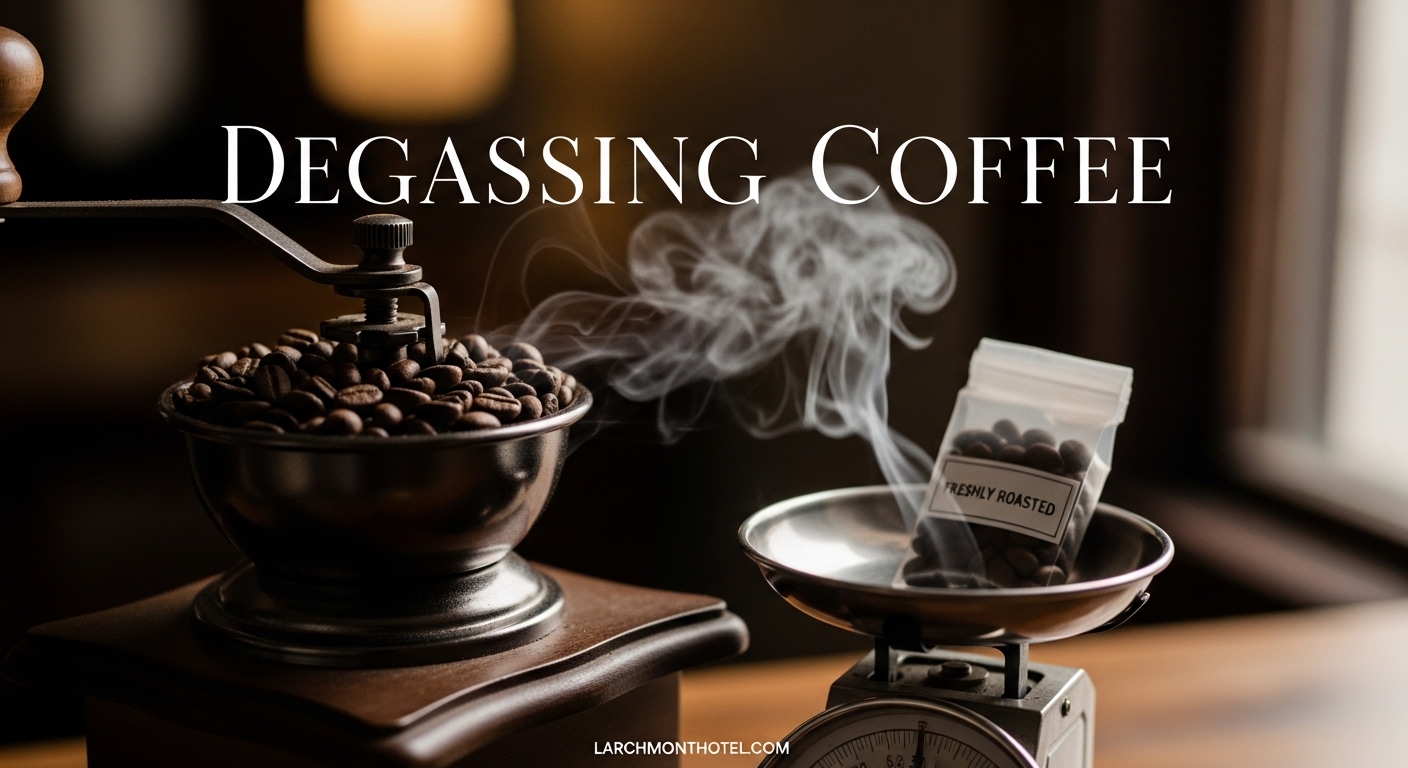
Ever brewed a fresh roasted coffee that tasted sour, sharp, or strangely metallic despite following every step of your brewing routine perfectly? I’ve been there, and after testing dozens of beans at different ages, I discovered the culprit was improper degassing.
Degassing coffee is the essential waiting period after roasting when carbon dioxide naturally escapes from the beans, allowing true flavors to develop and extraction to reach its full potential.
After spending three years experimenting with roast dates, tracking flavor development, and consulting coffee chemistry research, I’ve learned that proper degassing transforms good coffee into exceptional coffee. Let me break down exactly what’s happening in those beans and when you should start brewing.
Coffee degassing is the natural release of carbon dioxide gas from roasted coffee beans over time. During roasting, complex chemical reactions including the Maillard reaction and pyrolysis produce carbon dioxide as a byproduct, which becomes trapped within the bean’s cellular structure.
This trapped CO2 slowly escapes through the bean’s porous surface over days and weeks after roasting, a process that fundamentally affects how your coffee tastes and brews. About 40% of the total carbon dioxide releases in the first 24 hours alone, with the remainder gradually dissipating over 2-3 weeks.
The degassing process never truly stops—beans continue releasing tiny amounts of CO2 for weeks—but after the initial period, the gas becomes negligible enough that it no longer impacts brewing quality.
Carbon Dioxide (CO2): A colorless, odorless gas produced during coffee roasting that affects extraction by repelling water and carrying aromatic compounds when released during brewing.
Understanding this process explains why fresh roasted coffee can taste disappointing immediately after roasting, and why patience pays off in flavor development.
Degassing directly impacts extraction quality because carbon dioxide repels water. When you brew under-degassed coffee, the CO2 creates a barrier between water and coffee grounds, preventing even extraction and leading to sour, acidic flavors.
For espresso brewing, excessive CO2 causes channeling—water finding paths of least resistance through the puck—which creates uneven extraction and unpleasant sharpness. I’ve watched countless shots blonde early and taste harsh because the beans needed more rest time.
Beyond extraction problems, carbon dioxide carries aromatic compounds when released. The bloom you see when pouring hot water over fresh grounds? That’s CO2 escaping, and with it go precious volatile compounds that contribute to aroma and flavor complexity.
Properly degassed coffee extracts evenly, develops balanced sweetness, and showcases the intended flavor notes the roaster designed. The difference between a 3-day-old bean and a 10-day-old bean can be dramatic—especially with light roasts where delicate acidity and sweetness need time to settle.
The degassing timeline varies significantly based on roast level because darker roasts have more porous, oilier structures that release gas faster than dense light roasts. After tracking multiple roast levels over two years of home brewing, here’s what I’ve found works best:
| Roast Level | Minimum Rest | Optimal Window | Peak Flavor | Why It Differs |
|---|---|---|---|---|
| Light Roast | 7 days | 10-14 days | 14-21 days | Denser structure retains CO2 longer |
| Medium Roast | 3 days | 5-7 days | 7-14 days | Balanced porosity for steady degassing |
| Dark Roast | 1 day | 2-3 days | 5-10 days | More porous, faster gas release |
Light roasts need the most patience because their cellular structure remains intact and dense, trapping CO2 more effectively. I’ve brewed light roasts at 5 days post-roast that tasted sharp and one-dimensional, then tried the same beans at day 12 and found completely different flavors—sweetness emerged, acidity integrated, and the cup became balanced.
Medium roasts offer the most flexibility. Their moderate density allows for relatively quick degassing while still developing complexity. Most specialty coffee intended for filter brewing falls into this category and typically shines between 5-7 days after roasting.
Dark roasts degass rapidly due to structural changes from longer roasting—the beans become more porous and oils migrate to the surface, creating escape routes for gas. This is why dark roasts often taste best within days of roasting and decline more quickly afterward.
Coffee flavor development follows a curve: sharp and underdeveloped immediately after roasting, improving through the optimal window, then gradually declining as staling begins. The goal is hitting that sweet spot where degassing is complete but freshness remains intact.
Different brewing methods have varying tolerance for CO2, which means your optimal degassing time depends on how you plan to brew. After testing multiple methods with beans at different ages, here’s what works best:
Espresso demands the most patience because high pressure amplifies CO2’s effects. Under-degassed beans cause severe channeling, blonde early extraction, and harsh sourness. I’ve found espresso needs 10-14 days rest for most roast levels.
Professional cafes routinely use beans 10-21 days post-roast for espresso. This extended rest ensures stable extraction and allows baristas to dial in consistent shots without daily adjustments for changing gas levels.
⚠️ Important: Brewing espresso with beans less than 7 days post-roast often leads to channeling and sour flavors regardless of grind or technique adjustment.
Filter brewing methods like pour-over (V60, Kalita Wave, Chemex) and automatic drip makers are more forgiving. The longer contact time and absence of high pressure mean you can brew successfully with 5-7 day old coffee.
The bloom step in pour-over brewing—pouring a small amount of water and waiting 30-45 seconds—actively releases remaining CO2 before the main extraction, which compensates for shorter degassing periods. I regularly brew pour-over with 5-day-old beans and get excellent results.
Immersion methods like French press are the most tolerant of residual CO2. The extended steep time (typically 4 minutes) allows carbon dioxide to escape gradually without disrupting extraction. Minimum 2-4 days rest works well, though I’ve brewed decent French press coffee even 48 hours after roasting.
Cold brew’s long extraction time (12-24 hours) makes it extremely forgiving regarding degassing. Since the coffee steeps in cold water for extended periods, CO2 can escape without affecting the process. Cold brew can work with beans as fresh as 1-3 days post-roast, though I’ve found 3-5 days produces cleaner, sweeter results.
| Brew Method | Minimum Rest | Optimal Rest | Tolerance Level |
|---|---|---|---|
| Espresso | 7 days | 10-14 days | Low tolerance—needs full degassing |
| Pour Over / Drip | 3 days | 5-7 days | Medium tolerance—bloom helps |
| French Press | 2 days | 4-5 days | High tolerance—immersion compensates |
| Cold Brew | 1 day | 3-5 days | Highest tolerance—long extraction |
After years of brewing with beans at various ages, I’ve developed reliable testing methods to determine if coffee is ready. The bloom test remains the most practical option for home brewers, requiring nothing but your usual brewing setup.
Beyond the bloom test, several other indicators help determine degassing status. The packaging often tells you—bags with one-way valves will bulge noticeably from CO2 pressure when beans are fresh, then gradually flatten as degassing completes.
Aroma development follows a predictable pattern. Under-degassed coffee smells grassy, sharp, or overly roasty—its complex aromatics haven’t had time to develop. Properly rested coffee displays stable, nuanced aromas with clear fruit, floral, or chocolate notes depending on origin.
Surface oil appearance provides another clue, especially for medium and dark roasts. Oils typically migrate to the surface 5-10 days after roasting as degassing progresses. However, light roasts may never show visible oils despite being properly degassed.
Ultimately, your palate provides the final evaluation. Under-degassed coffee tastes sharp, sour, metallic, or aggressively bright—acidity dominates while sweetness remains muted. The cup feels thin or harsh despite proper brewing technique.
Properly degassed coffee displays balanced acidity integrated with sweetness, clean finish, and recognizable flavor notes. Extraction feels even and complete. This is when coffee reaches its peak expression.
Over-degassed coffee (typically 4+ weeks old) tastes flat, stale, or cardboard-like. Aromatics have faded, flavors feel muted, and the cup lacks vibrancy. This differs from under-degassed coffee—you won’t taste sourness, just absence of life.
How you store coffee during the degassing period significantly impacts the process. After testing various storage methods over multiple roast batches, I’ve found that proper storage maintains quality while allowing natural degassing to occur.
One-way degassing valves represent the ideal storage solution for fresh roasted coffee. These specialized valves allow carbon dioxide to escape from the bag while preventing oxygen from entering—crucial since oxygen accelerates staling.
I’ve stored coffee in valve bags for three weeks with minimal quality loss, then transferred to airtight containers once degassing completes. The bag will noticeably bulge in the first week after roasting as CO2 builds pressure, then gradually flatten as gas escapes.
✅ Pro Tip: Never store coffee in the original bag after opening—transfer to an airtight container to prevent oxygen exposure once you’ve broken the seal.
Airtight containers work well for degassing coffee with one caveat: if you seal beans immediately after roasting, CO2 pressure can build inside the container. I recommend using jars with burp-lids or opening containers daily during the first week to release pressure.
Opaque containers protect coffee from light degradation, which is especially important during the degassing period when beans are most vulnerable. Clear glass containers on countertops might look attractive, but I’ve noticed faster staling in coffee stored in transparent containers.
Grinding dramatically accelerates degassing—ground coffee loses approximately 80% of its carbon dioxide within just a few hours. This is why grinding immediately before brewing matters so much for freshness.
I’ve tested this repeatedly: beans degassed for 7 days then ground immediately before brewing taste significantly better than the same beans ground 12 hours earlier. The increased surface area from grinding exposes more cellular structure to air, rapidly releasing CO2 but also accelerating staling.
Never pre-grind your coffee for degassing purposes—you’ll sacrifice quality and still need to wait the same amount of time. The degassing process must occur with whole beans for optimal flavor development.
Warmer temperatures accelerate degassing, while cooler temperatures slow the process. However, intentionally speeding up degassing through heat isn’t recommended—it can cause uneven degassing and negatively affect flavor development.
Room temperature storage (around 70°F/21°C) provides the ideal balance. I’ve stored beans in warmer areas (80°F+/27°C) and found they degass faster but lose peak flavor more quickly. Cooler environments (60°F/15°C) extend the degassing timeline but help preserve freshness longer.
Freezing coffee during degassing is controversial. While freezing significantly slows CO2 release, condensation can form when removing beans from the freezer, potentially damaging the beans. If you freeze during degassing, use truly airtight containers and minimize temperature fluctuations.
You can technically brew coffee immediately after roasting, but the results will disappoint. I’ve brewed coffee 12 hours after roasting out of curiosity, and while it was drinkable, the flavors were one-dimensional and aggressively sharp.
However, there are exceptions where very fresh coffee works adequately:
For filter coffee and espresso, patience rewards you with significantly better results. The difference between day 3 and day 10 for a light roast can be dramatic—in one instance, a Ethiopian light roast tasted sharply grassy at day 5 but displayed beautiful jasmine and lemon notes at day 14.
If you must brew very fresh coffee, adjust your technique: use a longer bloom, slightly coarser grind, and higher water temperature. These adjustments help compensate for excess CO2, though the results still won’t match properly rested coffee.
Recognizing under-degassed coffee helps you identify when beans need more rest. After brewing hundreds of cups with beans at various ages, certain patterns clearly indicate insufficient degassing time.
The bloom provides the most obvious visual indicator. Under-degassed coffee creates excessive foam that may overflow your dripper or press. The crust that forms looks uneven, with channels created by escaping gas. When you break the crust, bubbles continue rising for more than a minute.
For espresso, under-degassed coffee causes obvious channeling—you’ll see water finding paths through the puck rather than flowing evenly. The shot may blonde very early, appearing pale yellow after just 10-15 seconds rather than the expected 20-25 seconds.
Under-degassed coffee tastes sharp, sour, or metallic. Acidity feels aggressive and unbalanced rather than bright and integrated. Sweetness remains muted or absent. The cup feels thin despite proper brewing ratios.
In espresso, under-degassed coffee produces harsh, sour shots with unpleasant sharpness. The mouthfeel feels thin or prickly rather than smooth and rounded. Aftertaste may be bitter or astringent regardless of shot timing adjustments.
I’ve kept brewing logs tracking bean age versus cup quality, and the correlation is undeniable. Beans brewed before day 5 (for medium roasts) consistently show these under-degassed characteristics, while the same beans at day 10-14 taste completely different.
While under-degassed coffee tastes sharp and sour, over-degassed coffee loses vibrancy and life. The transition from peak to stale happens gradually, making it sometimes difficult to identify exactly when coffee has passed its prime.
Over-degassed coffee tastes flat, dull, or cardboard-like. The bright acidity that once made the cup exciting has faded. Aromatic complexity diminishes—fruit notes become muted, floral qualities disappear, and chocolate flavors feel generic rather than specific.
Aftertaste shortens considerably. Instead of lingering pleasantly, flavors fade quickly. The cup lacks sweetness and feels one-dimensional despite proper brewing technique.
Very old coffee (6+ weeks post-roast) may show visible signs of aging. Beans look dull rather than having a slight sheen. Oils on dark roasts may appear oxidized or dried. Ground coffee smells stale rather than aromatic when grinding.
During brewing, the bloom becomes minimal or absent—little to no foam forms when hot water hits the grounds. While this might seem like complete degassing, it actually indicates lost volatility and faded aromatics.
Coffee typically remains at peak quality for 2-4 weeks after roasting, depending on roast level and storage. Light roasts often maintain quality longer than dark roasts, which decline faster due to oil oxidation at the surface.
Proper storage extends this window, but nothing stops staling entirely. Even coffee stored in valve bags with minimal oxygen exposure will show age by week 5-6. This is why I recommend buying only what you’ll consume within 3-4 weeks of roasting.
After years of managing coffee freshness for home brewing, I’ve developed practical strategies for handling degassing effectively. These tips help you consistently brew at coffee’s peak rather than guessing.
When buying coffee, check the roast date and calculate forward to the optimal drinking window. I typically buy coffee roasted 5-10 days ago for filter brewing, meaning it’s ready immediately but still has weeks of peak quality remaining.
For espresso, I look for beans roasted 10-14 days ago. This ensures they’re fully degassed and ready for stable extraction. Buying coffee roasted the same day might seem like a treat, but you’ll wait 1-2 weeks for optimal results anyway.
I keep a simple log of roast dates for all coffee in my pantry. A piece of tape on the container with the roast date works well, or you can use a notebook app. This system prevents accidentally brewing too-fresh coffee and helps prioritize which beans to use first.
⏰ Time Saver: Use masking tape and a permanent marker to label coffee containers with roast date and optimal drinking window (e.g., “Roasted: Jan 15, Ready: Jan 25-Feb 8”).
If you drink coffee regularly, consider buying multiple bags roasted 1-2 weeks apart. This ensures you always have coffee at peak drinking stage without gaps where everything is either too fresh or too old.
I maintain 2-3 bags in rotation at any time—one at peak, one approaching peak, and one nearing the end of optimal drinking. This system guarantees consistently great cups without ever having to wait for degassing.
As coffee ages beyond the optimal window, slight brewing adjustments help compensate. I slightly increase dose (use more coffee) and adjust grind finer for beans beyond 4 weeks old. These changes help extract more flavor from fading coffee.
Conversely, very fresh coffee (day 3-5) may need a slightly coarser grind and longer bloom to manage excess CO2. Learning these adjustments takes experimentation, but tracking your results in a brewing journal accelerates the learning process.
If you roast coffee at home, degassing becomes part of your production planning. After roasting for several years, I’ve learned to schedule roasting sessions 1-2 weeks before I need specific coffees at their peak.
Home roasters have the advantage of controlling the entire process, but this also means planning ahead. I roast weekly to maintain a steady supply of coffee at various stages—some just roasted, some approaching peak, some at optimal drinking window.
Testing your own roasts requires patience. Sample small amounts at different intervals (day 3, 7, 10, 14) to understand how each roast develops. I keep detailed tasting notes for each roast to identify patterns and refine my roasting approach over time.
Environmental factors influence degassing speed, though their impact is often overstated. Temperature plays the most significant role—warmer environments accelerate CO2 release, while cooler environments slow the process.
Living at higher altitude doesn’t dramatically affect degassing despite lower atmospheric pressure. While CO2 might escape slightly faster, the difference isn’t significant enough to change resting timelines dramatically. I’ve brewed coffee at sea level and at 6,000 feet elevation using the same degassing timelines with excellent results in both locations.
Humidity affects degassing indirectly by influencing how beans store. High humidity environments require extra care with airtight storage to prevent moisture absorption, which can degrade quality alongside the natural degassing process.
The optimal degassing time depends on roast level and brew method. Light roasts need 10-14 days for filter brewing, medium roasts need 5-7 days, and dark roasts need 2-3 days. Espresso requires 10-14 days regardless of roast level for proper extraction without channeling.
You can brew coffee immediately after roasting, but results will be suboptimal. Fresh roasted coffee contains excessive carbon dioxide that causes uneven extraction, sour flavors, and sharp acidity. Cold brew and French press are the most forgiving methods for very fresh coffee, while espresso and pour-over require patience.
Grinding dramatically accelerates degassing—ground coffee loses about 80% of its CO2 within hours. However, pre-grinding for degassing purposes sacrifices quality and isn’t recommended. Always grind immediately before brewing to preserve freshness and allow whole beans to degass naturally.
The bloom test provides the most reliable indicator. Pour hot water over grounds and observe: properly degassed coffee creates gentle foam that settles within 30-45 seconds, while under-degassed coffee creates excessive bubbles, violent foaming, and channels in the crust. Aroma development and taste testing provide additional confirmation.
Coffee beans never completely stop degassing, but CO2 release becomes negligible after 3-4 weeks. The majority of carbon dioxide escapes in the first week (40% in the first 24 hours alone), with diminishing amounts released thereafter. After a month, degassing effects on extraction are minimal even though trace gas continues escaping.
Freezing slows but doesn’t completely stop degassing. The cold temperature significantly reduces CO2 release rate, but beans continue off-gassing slowly. However, freezing during the degassing period risks condensation formation when removing beans, which can damage quality. Most experts recommend waiting until degassing completes before freezing for long-term storage.
Dark roasts degass faster because the roasting process creates more porous, oilier bean structures with expanded cellular pathways for gas escape. Light roasts retain denser cellular structures that trap CO2 more effectively, requiring longer resting periods. This structural difference explains why dark roasts peak within days while light roasts need weeks.
Rapid degassing through heat or pressure can negatively affect flavor development. While warmer temperatures accelerate CO2 release, they may cause uneven degassing and potentially compromise quality. Natural degassing at room temperature allows optimal flavor maturation alongside gas release. Intentionally speeding the process isn’t recommended.
Understanding coffee degassing transformed my brewing results more than any other technique or equipment upgrade. After tracking hundreds of brews at various bean ages, the science consistently proves that patience pays off in cup quality.
For most home brewers, the practical approach is simple: check roast dates when purchasing, store coffee properly in valve bags or airtight containers, and wait for the optimal resting window before brewing. Light roasts need 10-14 days, medium roasts need 5-7 days, and dark roasts need 2-3 days for peak flavor.
Use the bloom test to confirm degassing completion, adjust brew methods appropriately (espresso needs the most rest, cold brew the least), and track your results to understand how different coffees develop over time. Within a few weeks of paying attention to degassing, you’ll notice more balanced sweetness, cleaner extraction, and clearer flavor notes in every cup.
The best coffee deserves proper preparation—and degassing is an essential part of that preparation. By respecting this natural process, you ensure that the roaster’s careful work reaches your cup exactly as intended.