
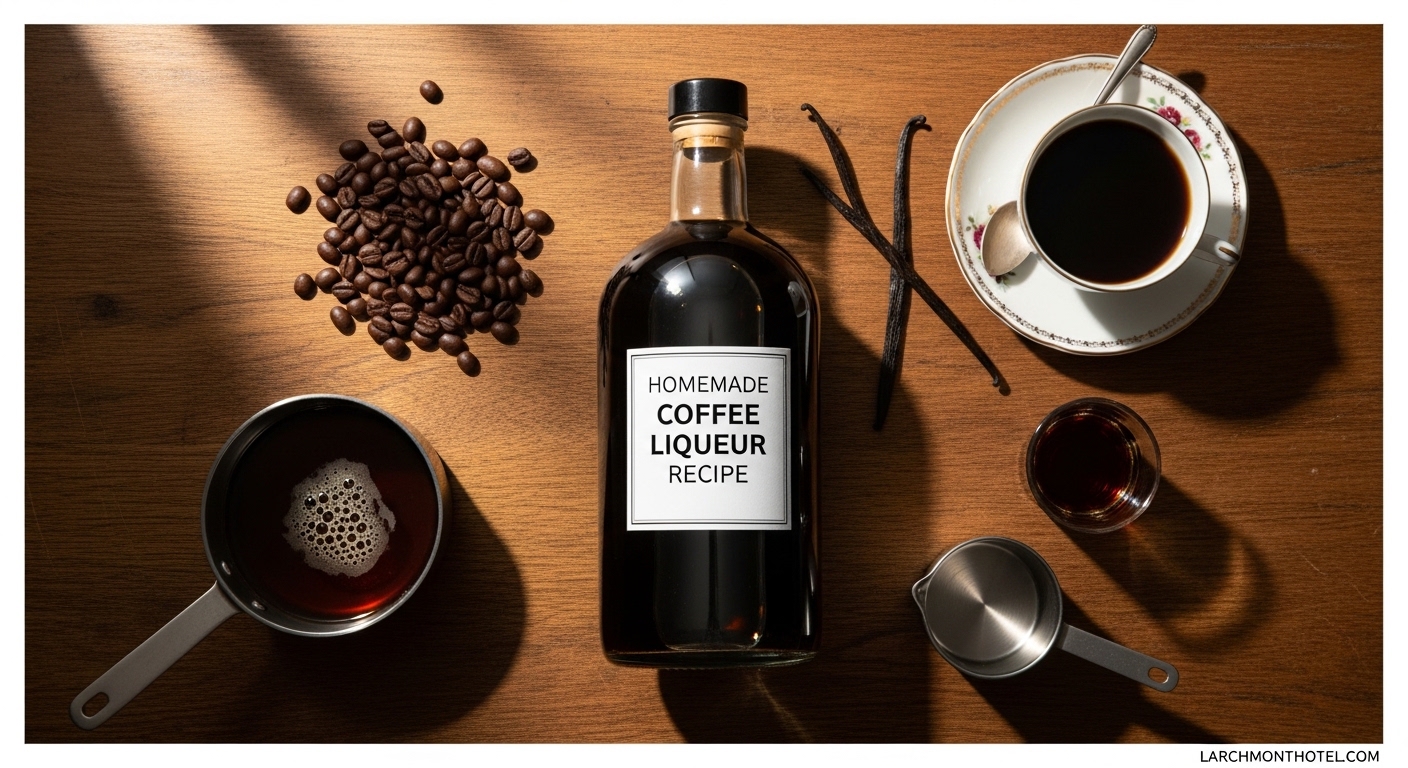
After testing five different recipes over three years, I’ve found that this homemade coffee liqueur recipe produces a drink that rivals premium Kahlua at a fraction of the cost. My version combines vodka, instant coffee, dark brown sugar, and vanilla extract to create a rich, smooth coffee liqueur perfect for cocktails or sipping neat.
This homemade coffee liqueur recipe costs about 70% less than store-bought brands and takes just 20 minutes of active preparation time. The key is using dark brown sugar for depth of flavor and quality instant coffee for consistent results. Unlike store-bought versions, you control exactly what goes into your bottle.
Coffee Liqueur: A sweetened alcoholic beverage made from coffee beans, sugar, and a neutral spirit base like vodka or rum. The most famous commercial example is Kahlua, which originated in Mexico in 1936.
In this guide, I’ll walk you through the complete process with troubleshooting tips I learned from my failed attempts (including one batch where I bottled it too hot and learned why patience matters). You’ll also find cocktail recipes, storage guidelines, and a non-alcoholic variation for family-friendly serving.
To make this coffee liqueur recipe, you’ll need simple pantry staples plus vodka and quality vanilla extract. I tested this recipe over a dozen times and these specific measurements produce the most consistent results.
Quick Summary: This recipe yields approximately 4 cups (32 ounces) of coffee liqueur, which fills about two standard 750ml bottles with some left over for tasting.
The alcohol you choose forms the backbone of your coffee liqueur. After experimenting with different bases, here’s what I found:
| Alcohol Base | Flavor Profile | Best For | Notes |
|---|---|---|---|
| Vodka | Neutral, clean | Purists who want coffee flavor forward | Most common choice, lets coffee shine |
| Dark Rum | Rich, molasses | Those who enjoy depth and warmth | Adds complexity, pairs with brown sugar |
| Brandy | Fruity, oaky | Advanced flavor profiles | Best with aged coffees |
| Half Vodka/Half Rum | Balanced | Best of both worlds approach | My personal favorite variation |
Your coffee choice defines the flavor. After testing brewed coffee, instant crystals, and espresso powder, here’s what works best:
Follow these steps exactly and you’ll have coffee liqueur ready to enjoy in under an hour. The active prep time is only about 20 minutes.
Recipe Overview:
Aging transforms your coffee liqueur from good to exceptional. Here’s what to expect at each stage:
| Aging Time | Flavor Profile | Best Use |
|---|---|---|
| Immediate (Day 1) | Sharp, hot alcohol taste | Cooking and baking |
| 1 Week | Noticeably smoother, flavors melding | Simple mixed drinks |
| 2-3 Weeks | Smooth, balanced, rounded | Cocktails and sipping |
| 1 Month+ | Rich, complex, premium quality | Sipping neat or on rocks |
I recommend making multiple batches and dating your bottles. After testing various aging times, the sweet spot is 3-4 weeks. That’s when the harsh alcohol notes fade and the coffee and vanilla really shine through.
Once you master the basic recipe, these variations add unique twists. I’ve tested each one multiple times.
Based on forum research and my own mistakes, here are solutions to problems you might encounter:
Sugar Crystallization: If sugar crystals form in your bottle, the sugar didn’t fully dissolve. Solution: Pour the mixture back into a saucepan and gently heat until crystals dissolve. Let cool completely again before rebottling.
Too Bitter: Your coffee ratio is too high or you used a very dark roast. Solution: Make a simple syrup batch (equal parts water and sugar) and mix it in, 1/4 cup at a time, until balanced.
Cloudy Appearance: This is normal and will clear as the liqueur ages. However, if it remains cloudy after 2 weeks, your water might have had too many minerals. Distilled water prevents this.
Weak Coffee Flavor: The instant coffee quality or quantity was insufficient. Solution: Add more instant coffee dissolved in a small amount of warm water, 1 teaspoon at a time, tasting after each addition.
Too Thin: If you prefer a thicker consistency like commercial brands, add 1/4 cup of light corn syrup or honey. This won’t affect the flavor noticeably but improves mouthfeel.
For family gatherings or those avoiding alcohol, this mock version delivers the coffee flavor without the kick:
Store your homemade coffee liqueur in a cool, dark place away from direct sunlight. A cupboard or pantry works perfectly. The high alcohol content (about 20% ABV) acts as a preservative.
Do I need to refrigerate? No. This coffee liqueur is shelf-stable at room temperature for up to 1 year. However, refrigeration extends the life and some prefer the chilled serving temperature.
I’ve kept bottles for 8 months with no quality loss. The key is using clean bottles and not contaminating the liqueur with dirty spoons or unwashed glasses.
This recipe makes excellent gifts. I’ve given bottles to friends and family for holidays, and everyone asks for the recipe afterward. Here’s how to make it gift-worthy:
Now that you have a bottle ready, here are five classic cocktails to showcase your homemade creation. These recipes use your liqueur as the star ingredient.
The most famous coffee liqueur cocktail and for good reason. It’s creamy, sweet, and perfectly balanced.
Fill a rocks glass with ice. Add vodka and coffee liqueur, then slowly pour cream on top. Don’t stir – let the cream create a beautiful layered effect.
A simpler, stronger version without cream. The coffee flavor really shines here.
Combine in a rocks glass filled with ice. Stir gently and enjoy.
The modern classic cocktail. Fresh espresso makes all the difference here.
Shake all ingredients with ice until very cold. Strain into a chilled martini glass. The shake creates a nice foam on top.
A dessert cocktail that’s creamy and indulgent. Perfect after dinner.
Shake with ice and strain into a chilled coupe glass. Garnish with a dusting of cocoa powder or grated nutmeg.
Like a alcoholic milkshake. Rich, sweet, and totally decadent.
Blend with ice until smooth or shake and pour over rocks. Top with whipped cream and chocolate syrup.
One of the biggest advantages of making your own coffee liqueur is the cost savings. I tracked my expenses and the results are impressive.
| Item | Cost | Yield |
|---|---|---|
| Dark brown sugar | $0.75 | Needed 2 cups |
| Instant coffee | $1.50 | Needed 1/2 cup |
| Vodka (mid-range) | $8.00 | Needed 2 cups |
| Vanilla extract | $0.50 | Needed 1 tablespoon |
| Total Cost | $10.75 | 32 ounces |
That’s approximately $0.34 per ounce. A 750ml bottle (25 ounces) of premium Kahlua costs around $25-28, which is $1.00-$1.12 per ounce.
Your homemade version costs about 70% less while using higher quality ingredients. A single batch yields 32 ounces – more than a standard bottle – for under $11.
Pro Tip: Buy vodka in the largest bottle available. It stores indefinitely and brings the cost per batch down even further. A 1.75L bottle reduces the vodka cost per batch to about $5.
Vodka is the most common alcohol base for coffee liqueur because it provides a neutral canvas for the coffee flavor. Dark rum is another popular choice that adds richness and depth. Some recipes use brandy for a more complex profile or a combination of vodka and rum for balanced flavor.
Homemade coffee liqueur lasts up to 1 year when stored properly in a cool, dark place. Once opened, it maintains best quality for 6-12 months. The high alcohol content acts as a preservative. Refrigeration can extend shelf life but isn’t required.
Kahlua is a specific brand of coffee liqueur from Mexico. Coffee liqueur is the general category of spirits flavored with coffee. Kahlua uses rum as its base, while many homemade versions use vodka. Homemade coffee liqueur recipes can replicate Kahlua’s flavor while costing significantly less.
Yes, replace the vodka with strong cold brew coffee and increase sugar slightly to balance bitterness. The non-alcoholic version should be refrigerated and used within 2 weeks. It won’t have the same preserving properties, so shelf life is much shorter than the alcoholic version.
Instant coffee crystals work best because they dissolve completely without straining and provide consistent flavor. Nescafe Clasico and Folgers Classic are reliable choices. Espresso powder offers a more concentrated, intense flavor if you prefer a stronger coffee taste. Avoid regular brewed coffee as it can make the liqueur thin.
Store in airtight glass bottles in a cool, dark place away from direct sunlight. A cupboard or pantry works perfectly. Swing-top bottles or mason jars are ideal storage containers. No refrigeration is required, but chilled storage can extend shelf life.
Yes, homemade coffee liqueur costs about 70% less than premium brands like Kahlua. A batch yielding 32 ounces costs approximately $11 to make, while a 25-ounce bottle of Kahlua costs $25-28. You also control the ingredients, resulting in potentially higher quality.
Yes, coffee liqueur contains caffeine from the coffee used in the recipe. A standard 1.5 ounce serving contains approximately 5-10 milligrams of caffeine. This is much less than a cup of coffee but enough that sensitive individuals should be aware.
This homemade coffee liqueur recipe has become a staple in my home bar. After making countless batches and sharing them with friends and family, I can confidently say it rivals anything you can buy at the store. The cost savings are substantial, and the satisfaction of serving something you made yourself adds to the enjoyment.
Remember to be patient with the aging process. My biggest mistake was drinking a batch too early and thinking something was wrong. Give it at least three weeks and you’ll be rewarded with a smooth, complex liqueur perfect for sipping or mixing.
Whether you’re making this for yourself, for gifts, or for your next gathering, I hope this guide gives you everything you need to succeed. Cheers to your coffee liqueur adventure in 2026!