
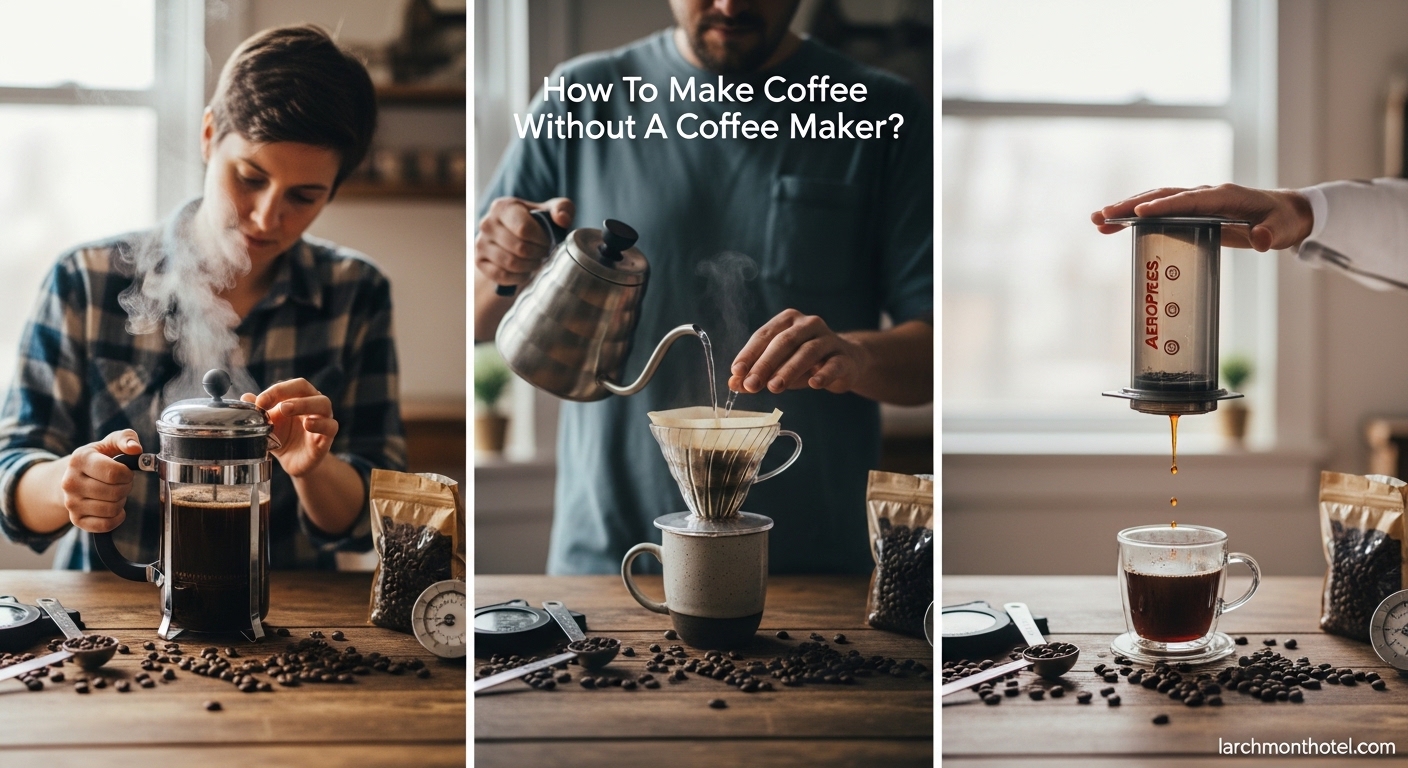
Ever found yourself desperate for coffee but with no coffee maker in sight?
I’ve been there – stuck in a hotel room, camping in the middle of nowhere, or moving into a new apartment before my equipment arrived.
The good news is you can make excellent coffee without any specialized equipment.
How to make coffee without a coffee maker: Use hot water and ground coffee with a simple straining method – the cowboy technique, stovetop strainer, or even a clean sock can produce surprisingly good coffee in 5-10 minutes.
After years of testing every makeshift method imaginable (including some disastrous attempts), I’ll share exactly what works and what doesn’t.
You’ll learn six proven methods that actually taste good.
I’ll cover specific temperatures, ratios, and timing that most guides skip.
Before diving into details, here’s what you need to know about each approach.
| Method | Difficulty | Time | Equipment Needed | Best For |
|---|---|---|---|---|
| Cowboy Coffee | Easy | 8-10 min | Pot, heat source | Camping, rustic brewing |
| Stovetop Strainer | Medium | 6-8 min | Pot, strainer/filter | Cleanest cup at home |
| Coffee Bag/Sock | Easy | 5-7 min | Mug, filter/sock | Minimal cleanup |
| Mason Jar Cold Brew | Easy | 12-24 hrs | Jar, fridge | Smooth, low-acid coffee |
| Microwave Mug | Very Easy | 4-5 min | Mug, microwave | Office, dorm, travel |
| French Press Style | Medium | 5-7 min | Pot, spoon, strainer | Full-bodied coffee |
Quick Answer: The stovetop strainer method gives the best balance of flavor, clarity, and ease for most situations.
This is the oldest coffee brewing method in existence.
Cowboy coffee is simply ground coffee steeped in hot water over a heat source.
It requires nothing but water, coffee, and a container that can withstand heat.
Pro Tip: The cold water trick causes grounds to sink to the bottom, giving you a clearer cup without any filtration.
Cowboy coffee produces a bold, full-bodied cup with some natural sediment at the bottom.
The flavor is rich and rustic, similar to French press but with more character.
I’ve made this method countless times while camping, and it never fails to hit the spot.
This method gives you the cleanest cup without any specialized coffee equipment.
The stovetop strainer technique is basically a pour-over without the fancy dripper.
This method produces a surprisingly clean and nuanced cup of coffee.
I’ve served coffee to guests using this method, and they couldn’t tell it wasn’t made with a proper pour-over setup.
This is essentially the same principle as a tea bag, but for coffee.
The immersion method gives you great extraction with minimal cleanup.
Note: This is how instant coffee bags work, but using fresh ground coffee produces dramatically better flavor.
Cold brew requires no heat and produces the smoothest, least acidic coffee of any method.
The mason jar method is perfect for hot days or sensitive stomachs.
Cold brew concentrate is incredibly versatile.
I make a batch every Sunday and enjoy it all week – over ice, heated up, or mixed into smoothies.
The fastest option for when you need coffee immediately with minimal fuss.
This method works surprisingly well for office breakrooms or hotel rooms.
Warning: Watch your mug in the microwave like a hawk. Coffee water can boil over suddenly and create a mess.
This isn’t the prettiest method, but it gets the job done in a pinch.
I used this method daily during a 3-month work assignment in a tiny office with no coffee equipment.
This immersion method mimics a French press using basic kitchen items.
The French press style produces a full-bodied, rich cup with excellent extraction.
This produces results very close to an actual French press.
The difference is you pour through a strainer instead of pushing the plunger down.
After testing all these methods extensively, I’ve learned the details that matter most.
I spent weeks measuring water temperature with a thermometer during my coffee experiments.
Water that’s too hot (over 205F) burns coffee and creates bitter flavors.
Water that’s too cool (under 195F) under-extracts and produces sour, weak coffee.
The sweet spot is 195-205F, which means waiting about 45-60 seconds after boiling.
This one detail alone transformed my makeshift coffee from barely drinkable to genuinely enjoyable.
Most people use too little coffee when brewing without a maker.
I recommend 1.5 to 2 tablespoons of coffee per 6 ounces of water.
For a standard 12 oz mug, that’s 3-4 tablespoons of grounds.
Yes, it seems like a lot, but this ratio ensures proper extraction and strength.
You can always add hot water later to weaken a strong brew, but you can’t fix weak coffee.
The right grind depends on your method and patience level.
| Method | Ideal Grind | Why It Matters |
|---|---|---|
| Cowboy Coffee | Medium-Coarse | Sinks to bottom better, less sediment |
| Stovetop Strainer | Medium | Balanced extraction, good flow |
| Coffee Bag | Medium | Good steeping, not too fine |
| Cold Brew | Coarse | Easier to strain, less bitterness |
| Microwave Mug | Medium-Fine | Faster extraction, shorter brew time |
I’ve tested cheap grocery store coffee against specialty beans in every method described.
The difference in clarity and flavor is noticeable even with makeshift brewing.
Fresh roasted beans (within 2-4 weeks of roasting) produce dramatically better results.
If you’re going to put effort into brewing, start with decent coffee.
I’ve made every mistake in the book so you don’t have to.
Pouring boiling water directly onto coffee grounds is the number one mistake.
This burns the coffee immediately and creates bitter, harsh flavors.
Always wait 45-60 seconds after boiling before pouring.
Impatience leads to weak, sour coffee.
Most methods need at least 4 minutes of contact time for proper extraction.
Set a timer – 3 minutes feels like forever when you’re craving caffeine.
Over-agitating coffee grounds releases excess tannins and bitterness.
One or two gentle stirs is all you need for even saturation.
After that, let the coffee work undisturbed.
Using espresso-fine grounds for cowboy coffee creates a muddy mess.
Using coarse French press grounds for a quick steep results in weak, flavorless coffee.
Match your grind to your method for the best results.
Drinking unfiltered coffee means chewing through grounds at the bottom of your cup.
Even a basic strainer or paper towel makes a huge difference in drinkability.
Spend the extra minute to strain your brew properly.
Yes, simply add 1-2 tablespoons of coffee to your cup, pour hot water (195-205F) over it, stir, let steep for 4 minutes, then strain or carefully pour off the liquid leaving grounds at the bottom. This basic immersion method works surprisingly well in a pinch.
The microwave mug method is fastest at 4-5 minutes total. Add coffee grounds and cold water to a mug, stir, microwave for 1:30-2:00 minutes, let steep 2-3 minutes, then skim off floating grounds. It’s not the prettiest but works in an emergency.
When made correctly, cowboy coffee can be delicious. The key is using medium-coarse grind, waiting 30 seconds after boiling before adding grounds, steeping 4-5 minutes, and the cold water trick to settle sediment. The result is a bold, rich cup similar to French press.
Yes, paper towels work surprisingly well as emergency coffee filters. Place the paper towel over a strainer or mesh colander, add your grounds, and slowly pour hot water through. Use unbleached paper towels if possible to avoid any papery taste transfer.
Cold brew is the easiest no-heat method. Combine 1 cup coarse coffee grounds with 4 cups cold water in a jar, stir, cover, and let sit at room temperature for 12-24 hours. Strain twice (coarse then fine) and dilute the concentrate 1:1 with water or milk.
You can use a clean spoon to skim floating grounds, carefully pour liquid leaving grounds behind, use a clean sock or cheesecloth as a makeshift filter, or even let the coffee sit undisturbed for 5+ minutes so grounds fully settle before carefully decanting.
After months of testing every no-equipment method I could think of, one thing is clear: good coffee is about technique, not equipment.
The stovetop strainer method remains my go-to for consistent, clean coffee at home.
For camping and travel, cowboy coffee has never let me down.
And for busy mornings, nothing beats the simplicity of the coffee bag method.
The methods in this guide have served me through countless camping trips, hotel stays, and equipment failures.
Now you’re prepared to make great coffee wherever you find yourself, with whatever you have on hand.
Remember: the perfect cup of coffee is the one that’s ready when you need it most.